


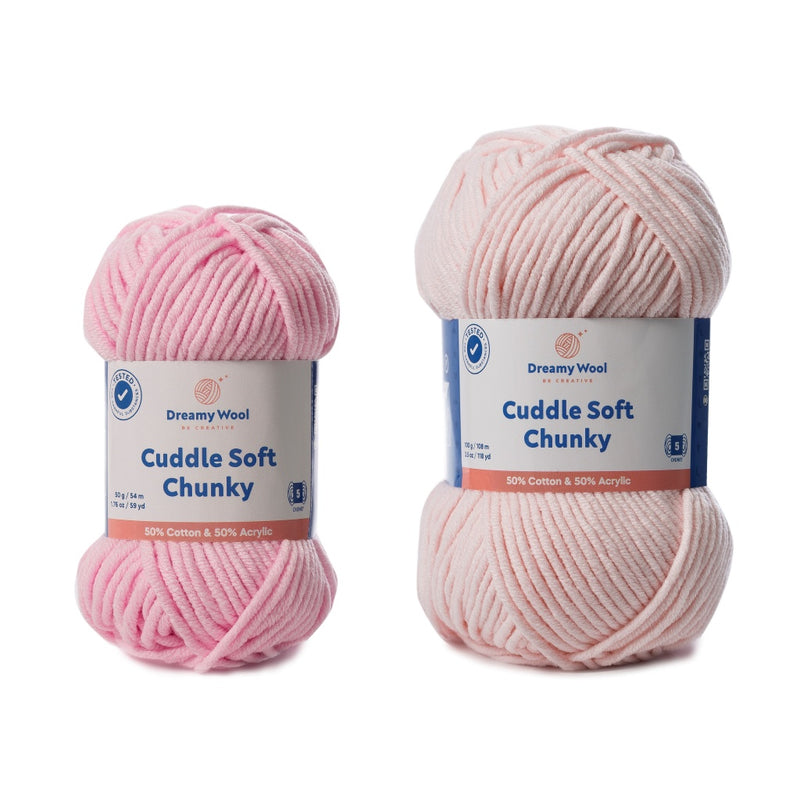
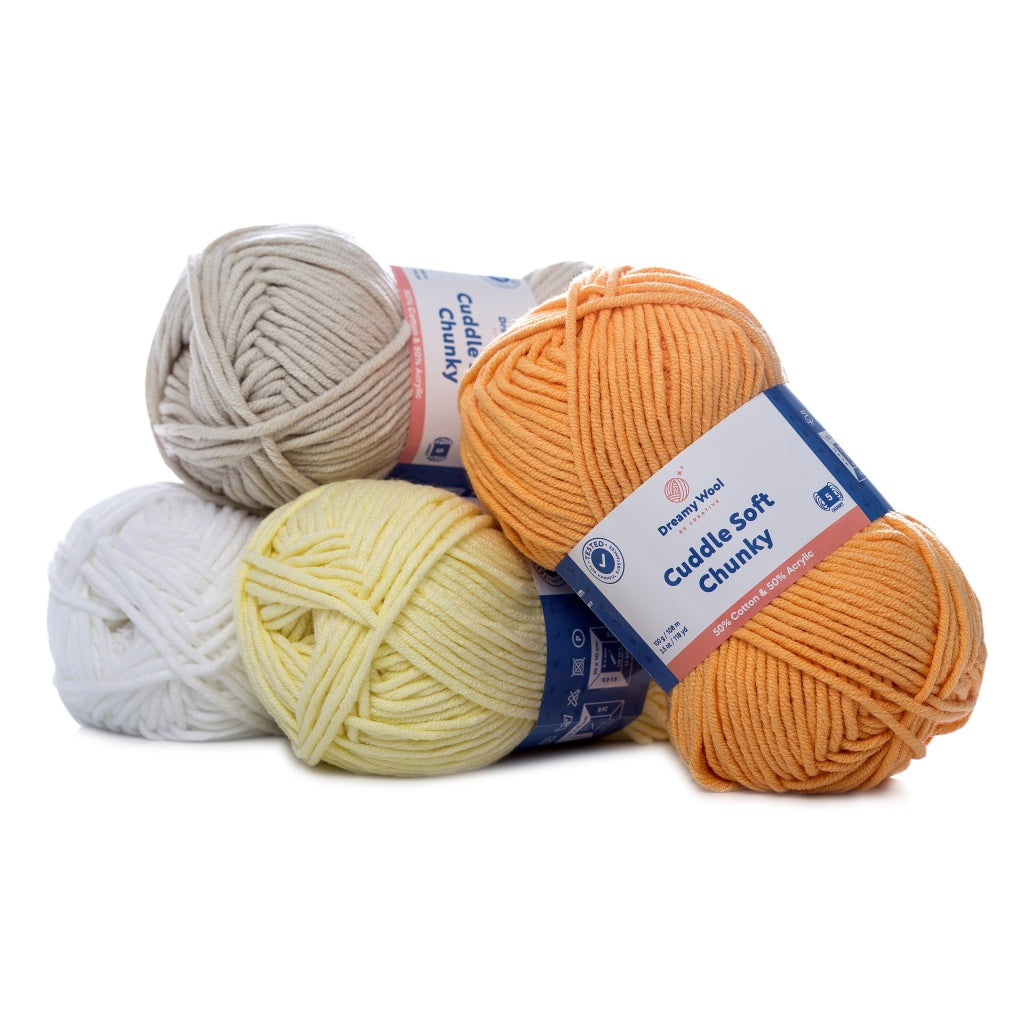
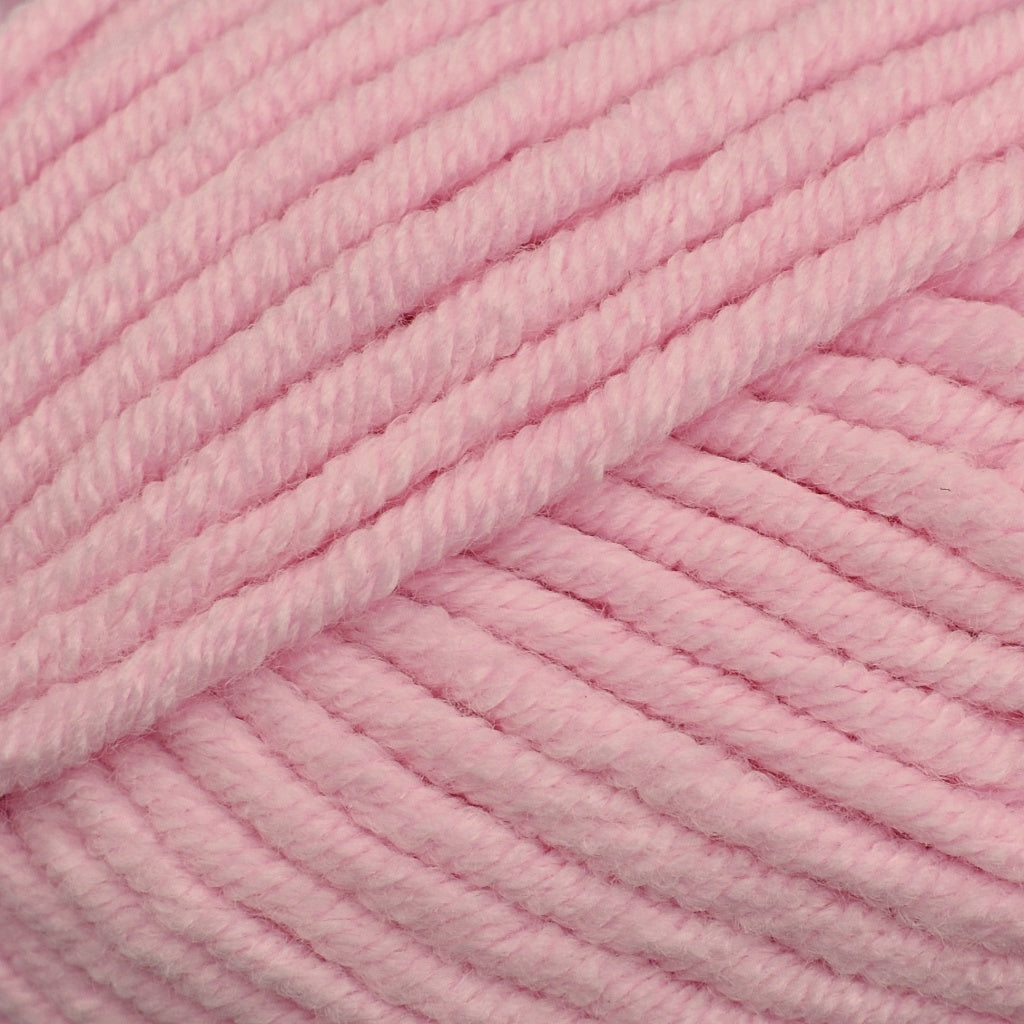
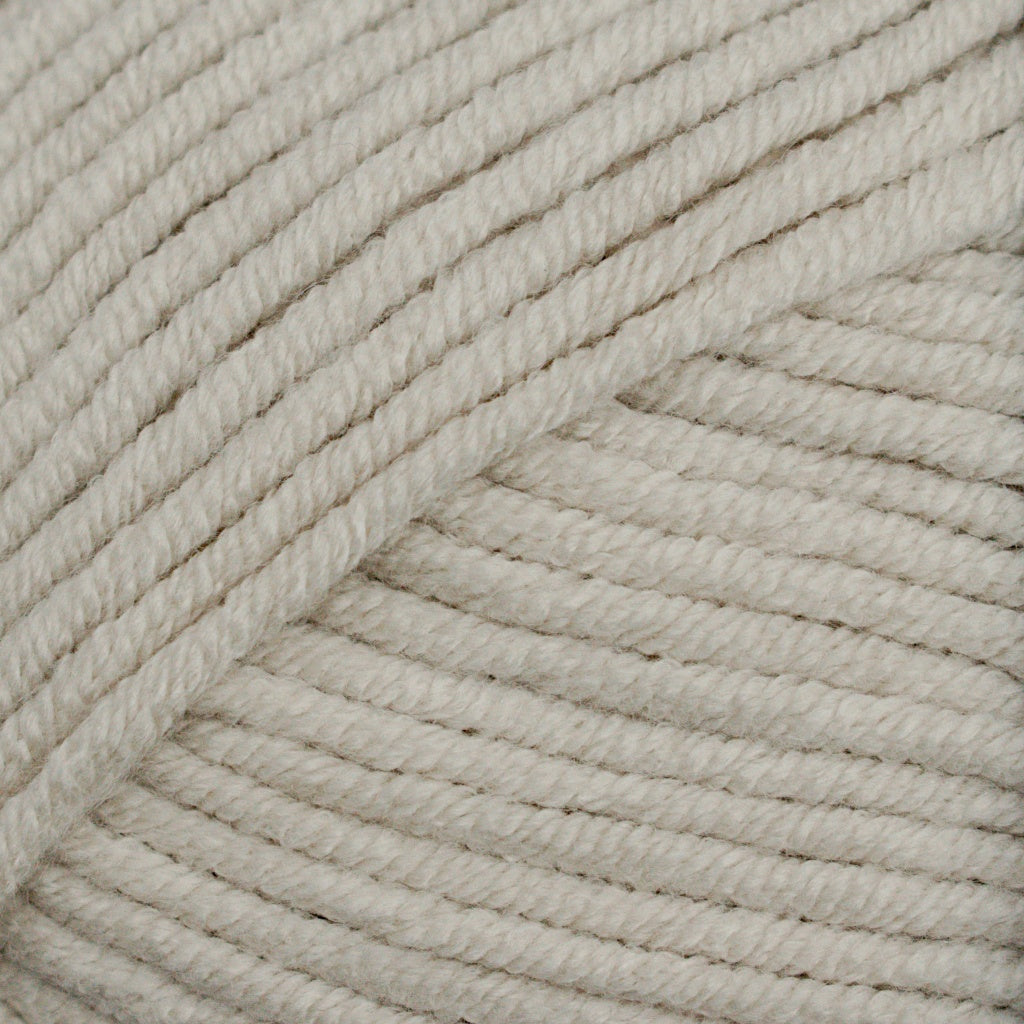
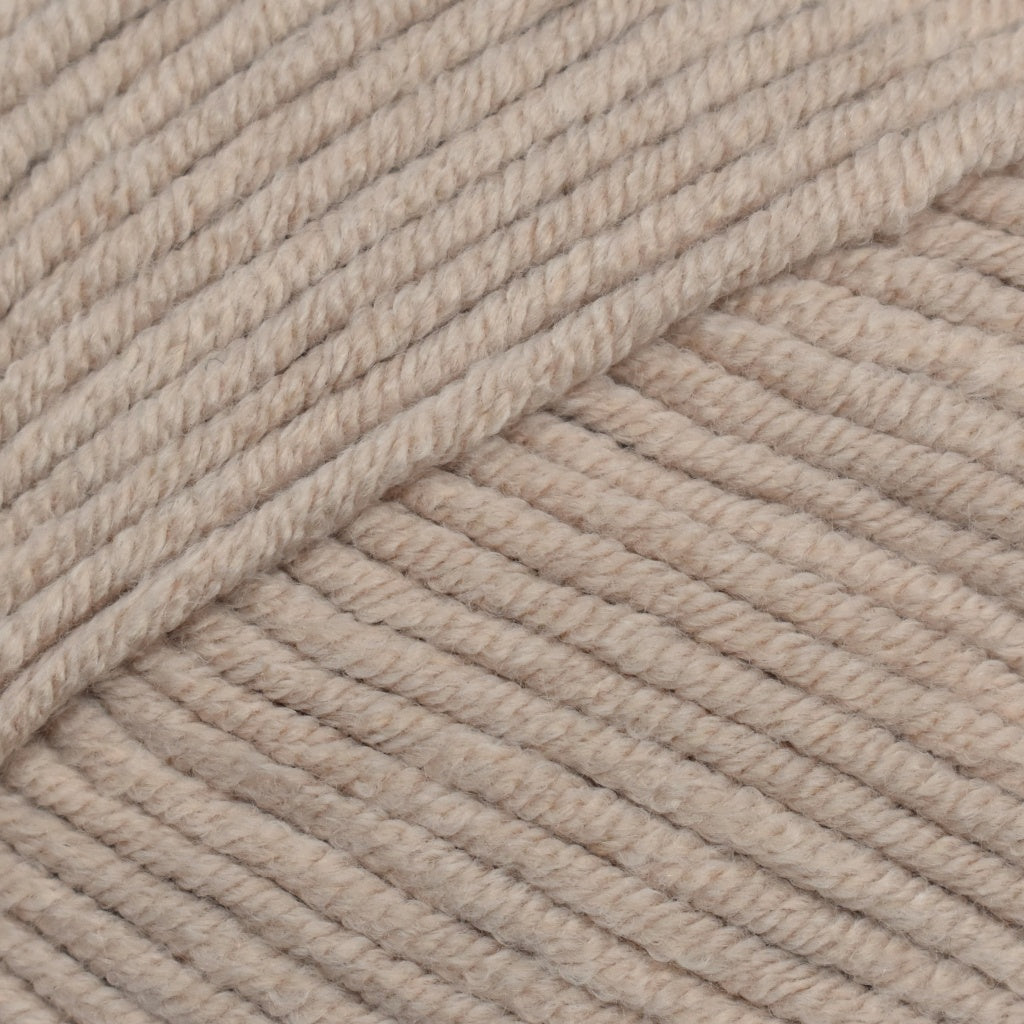
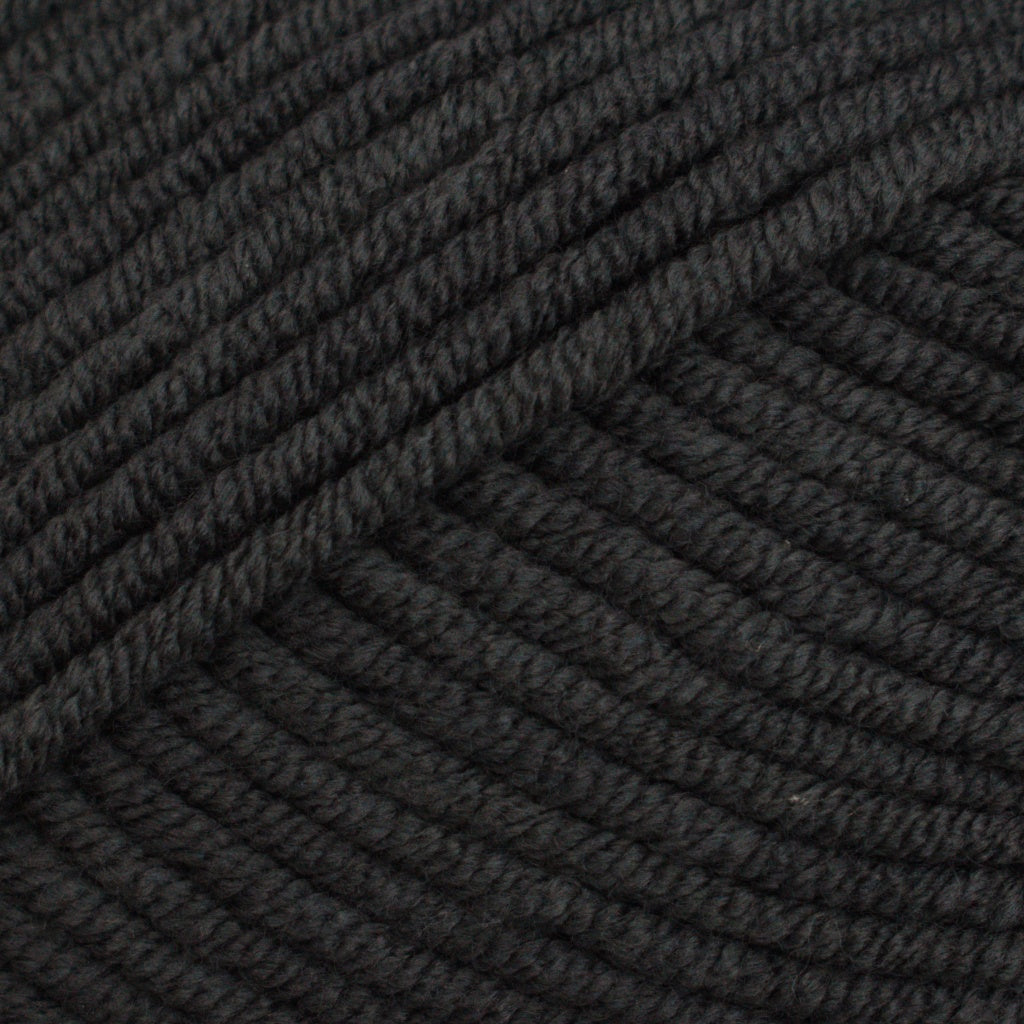
Designer: Dreamy Wool
- Regular
- $5.74
- Sale
- $5.74
- Regular
- $9.58
Sold Out
- Unit Price
- per
SKU
y-dw-csc-chu-sil-100

SIZE:
W 19 cm x H 13 cm (7 ½ ” x 5”)
CROCHET TERMS: UK Crochet terms.
MATERIALS:
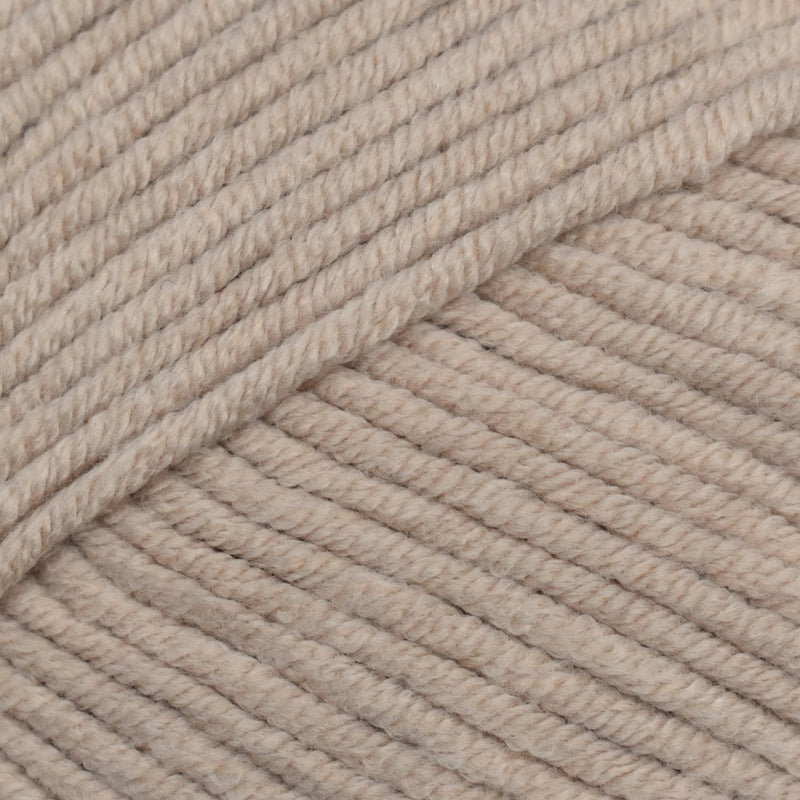
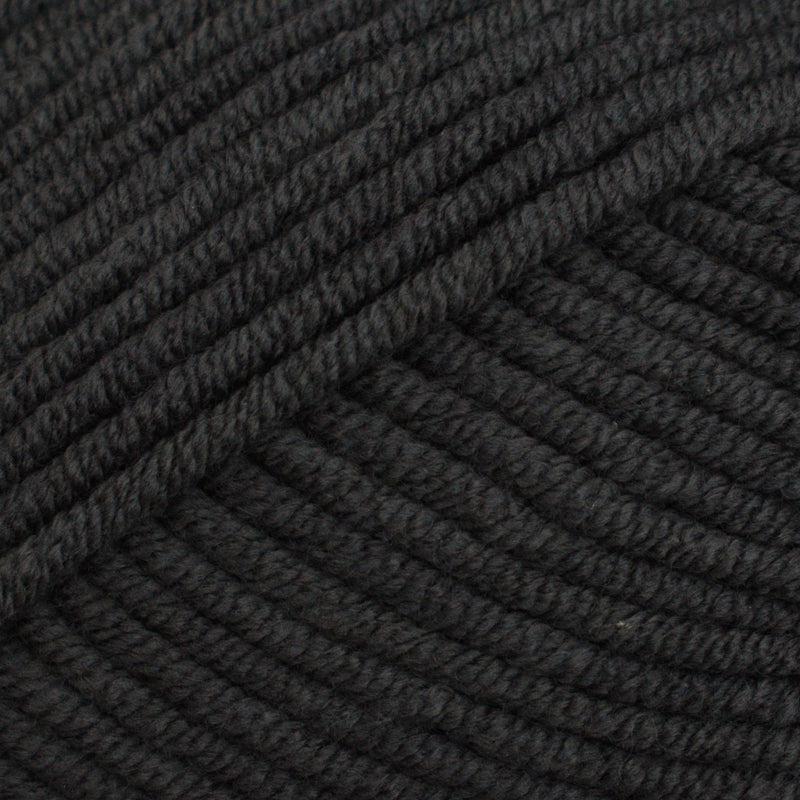
Yarn weight: Chunky / Size 5 / 12-14 Ply
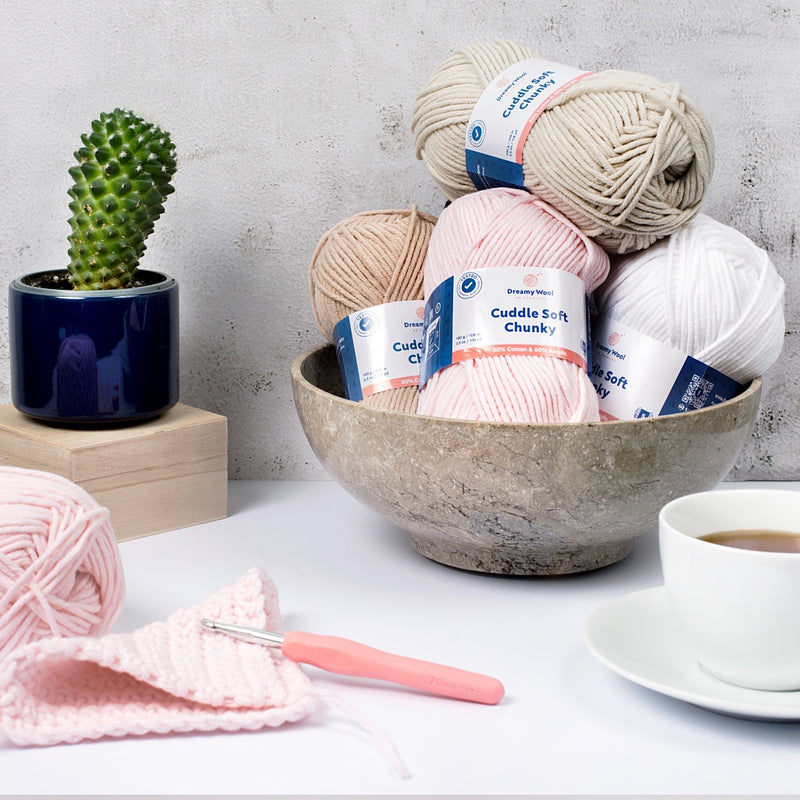
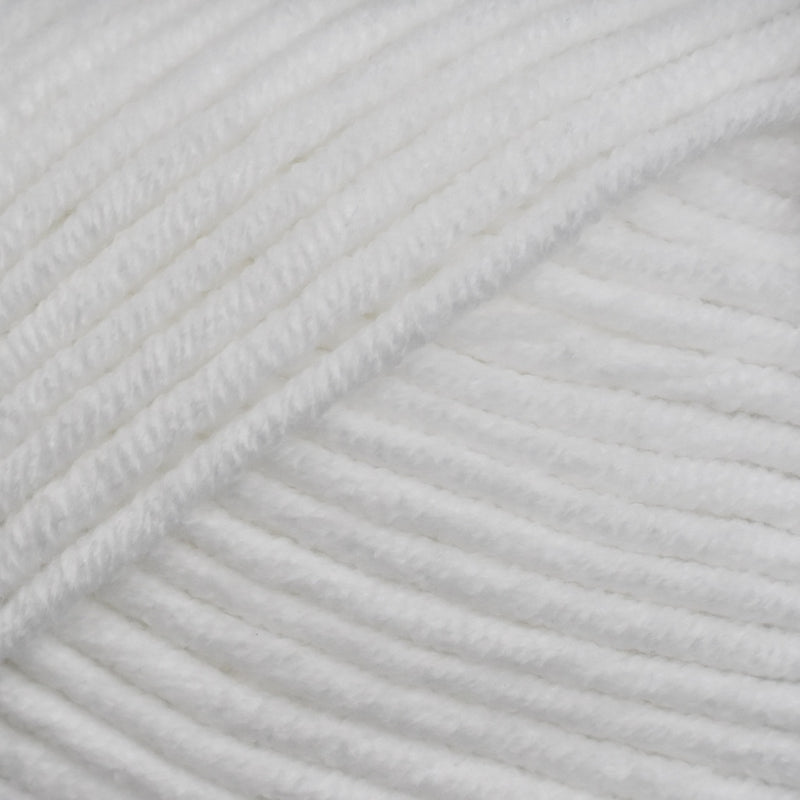
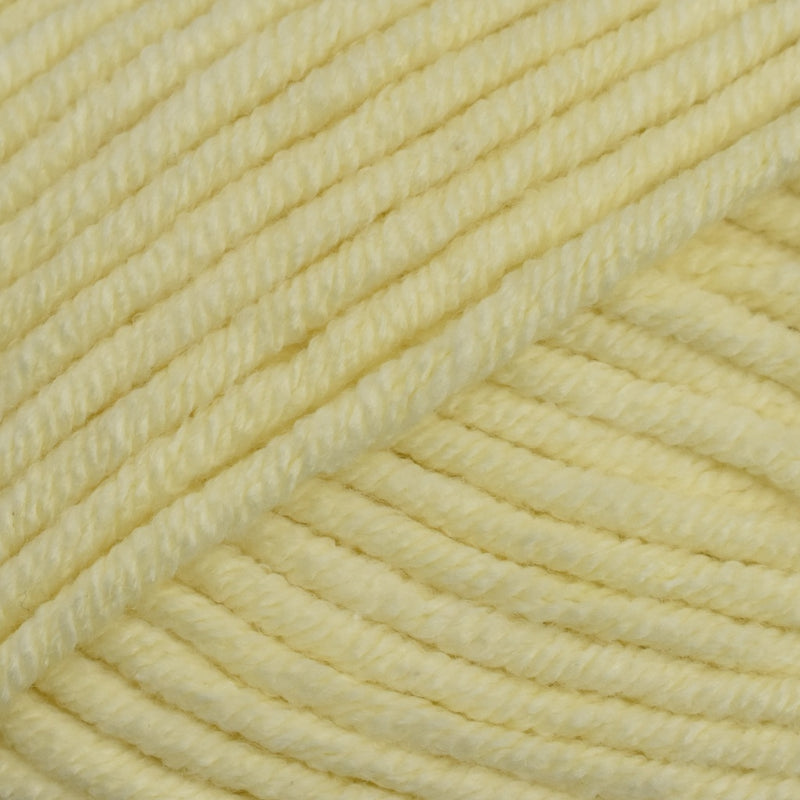
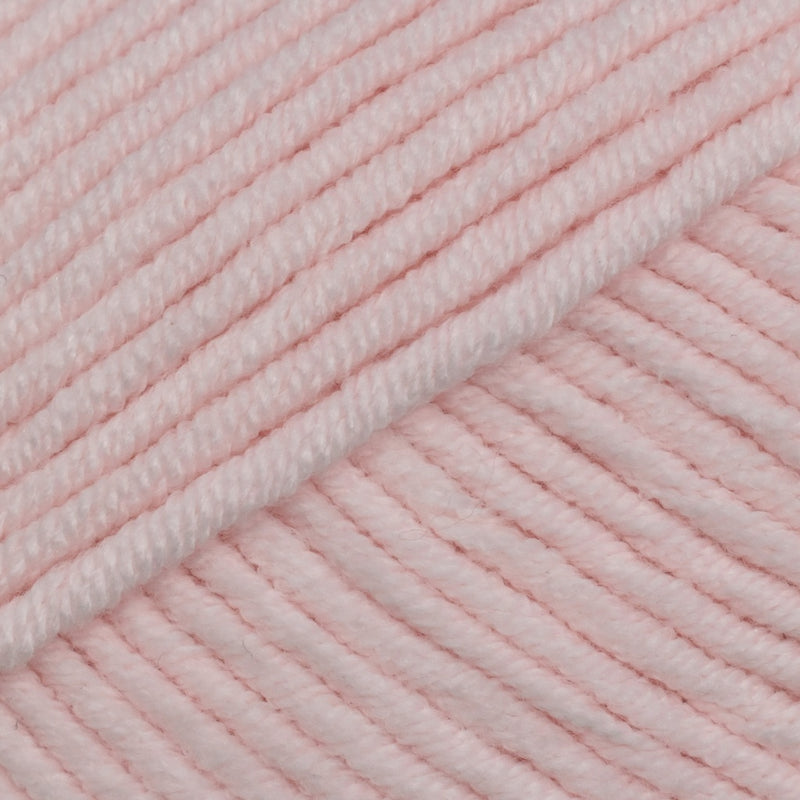
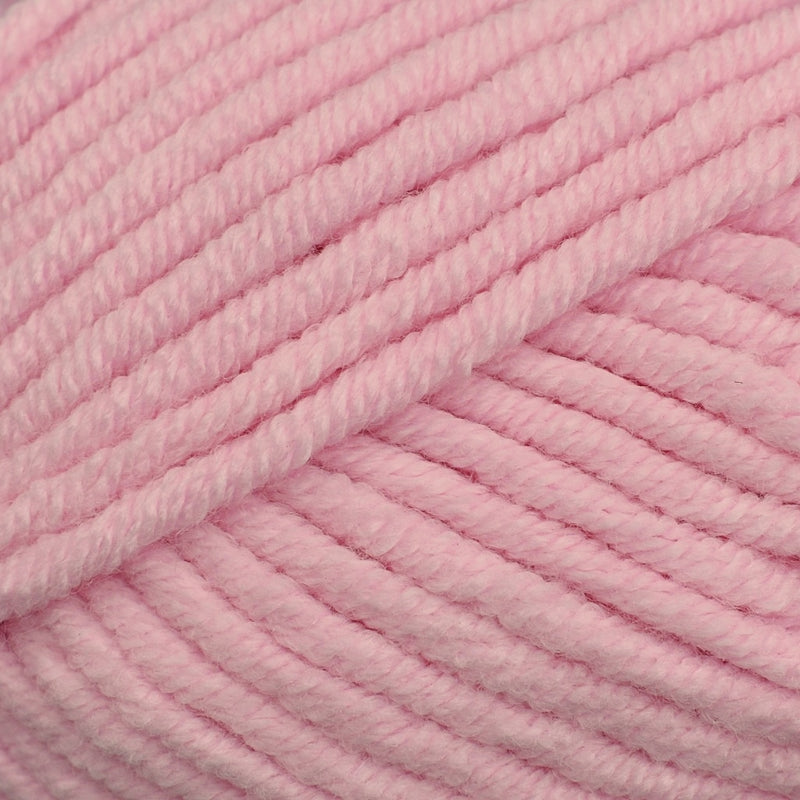
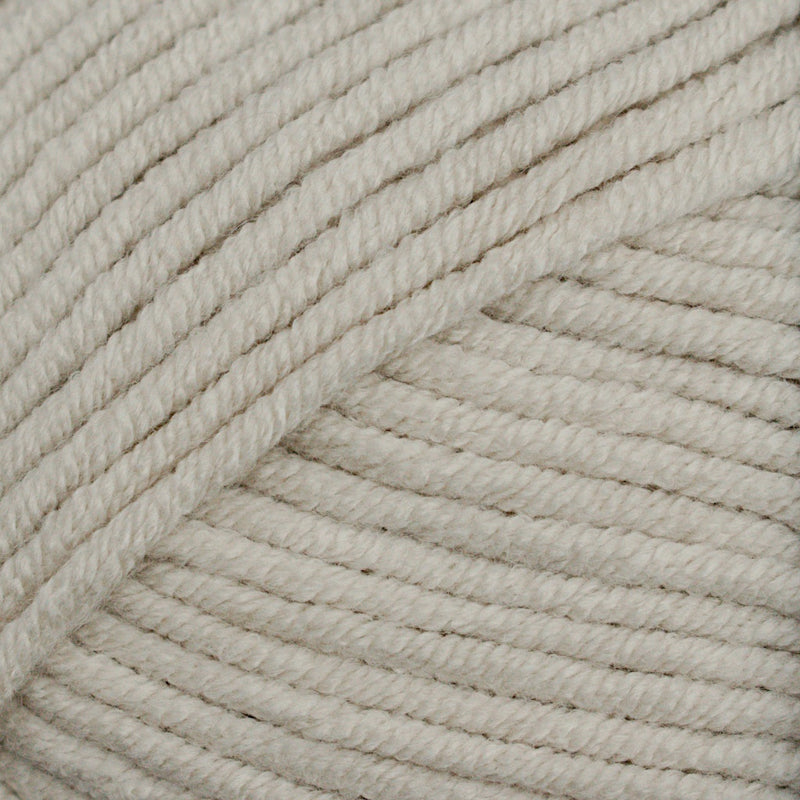
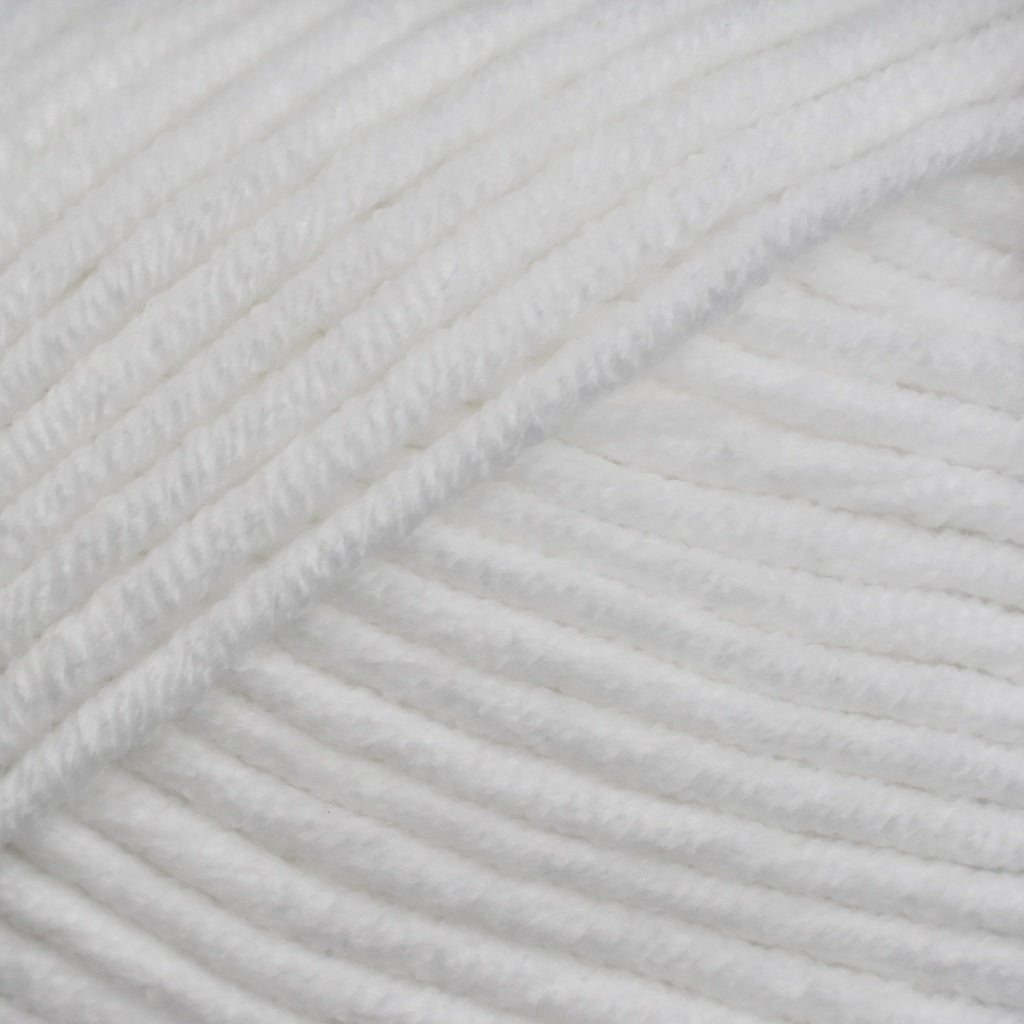
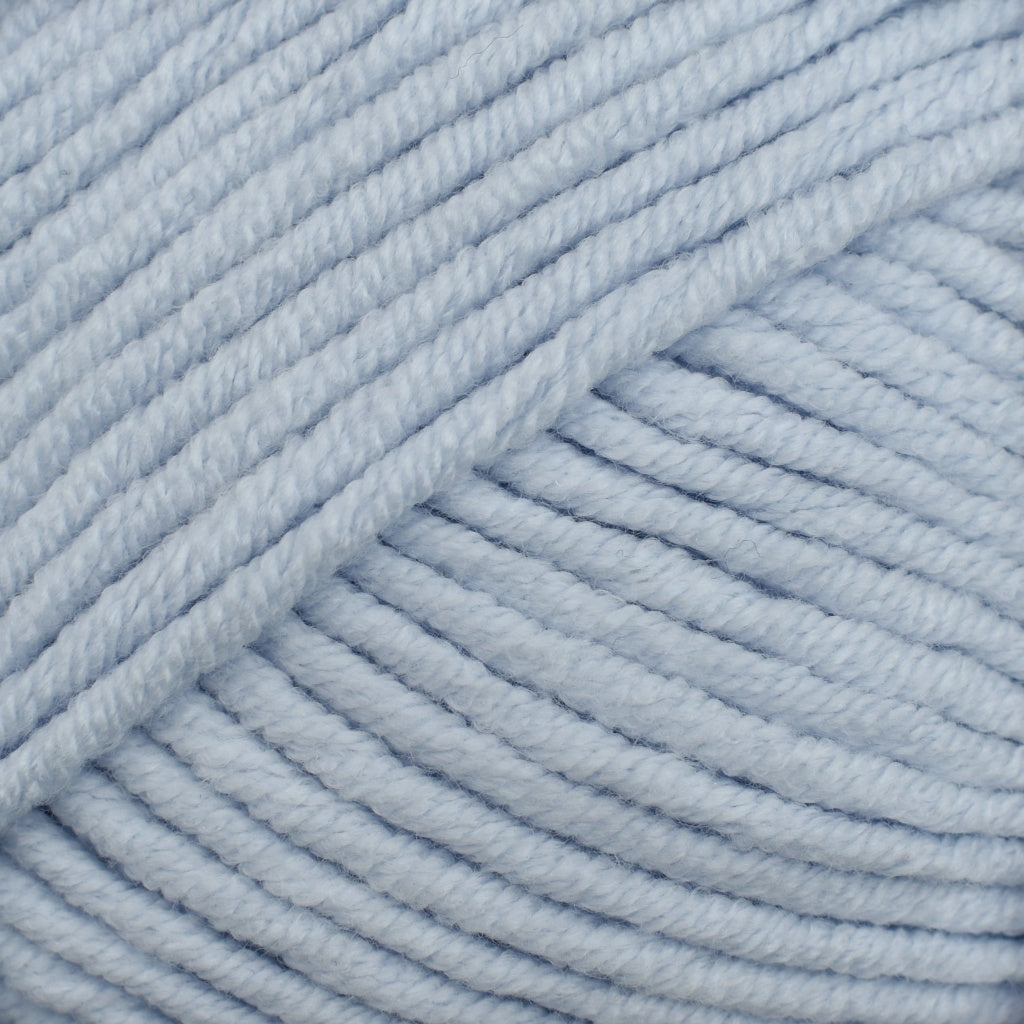
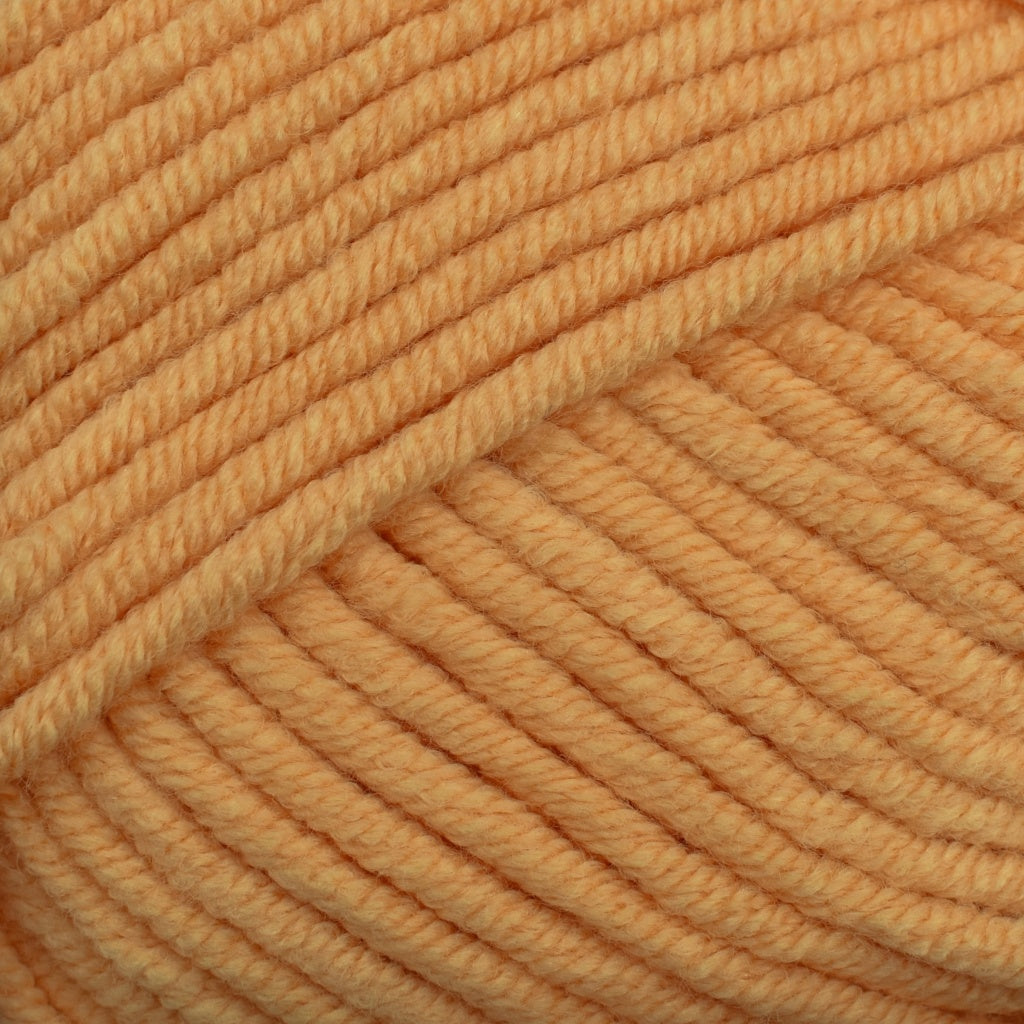
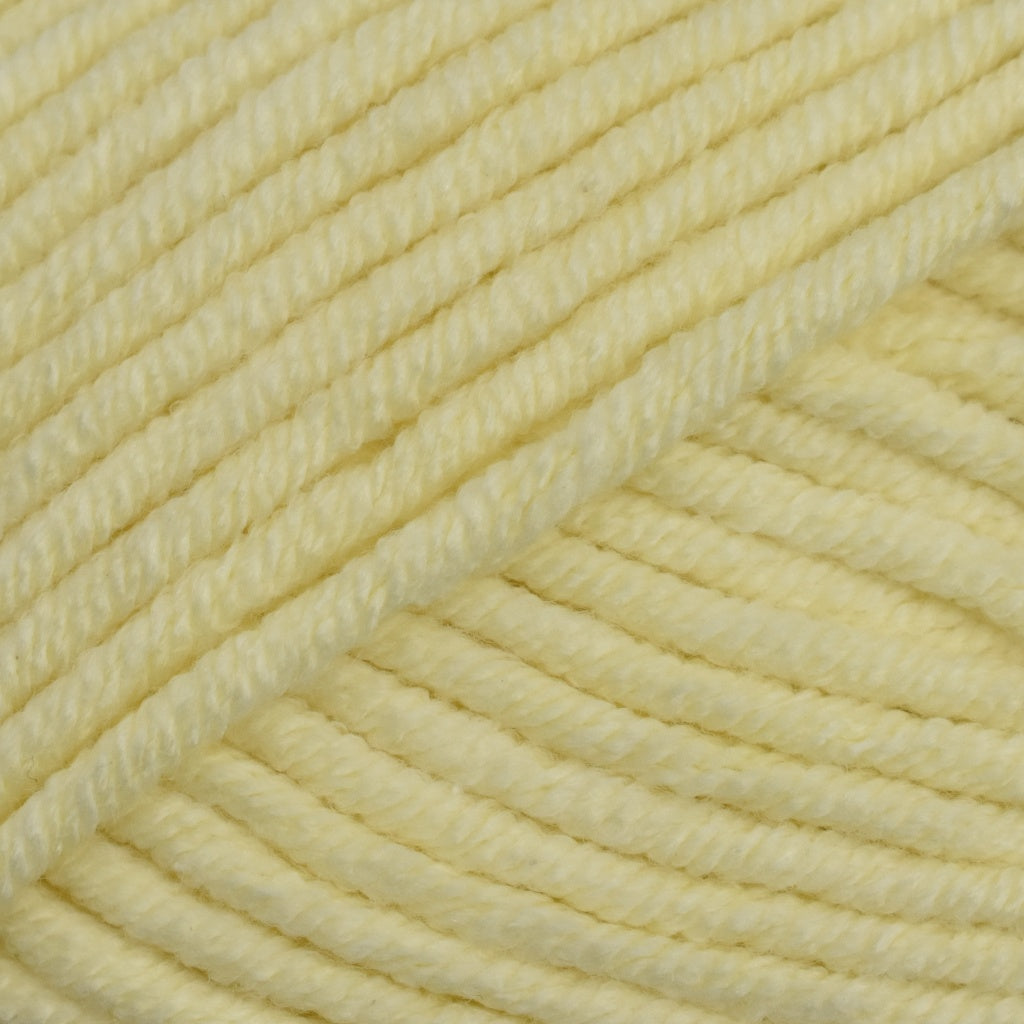
Yarn: Dreamy Wool Cuddle Soft Chunky Yarn
86.4 meters of Main Colour - 80 g
TOOLS:
5 mm crochet hook (H-8 US size)
Scissors & yarn needle.
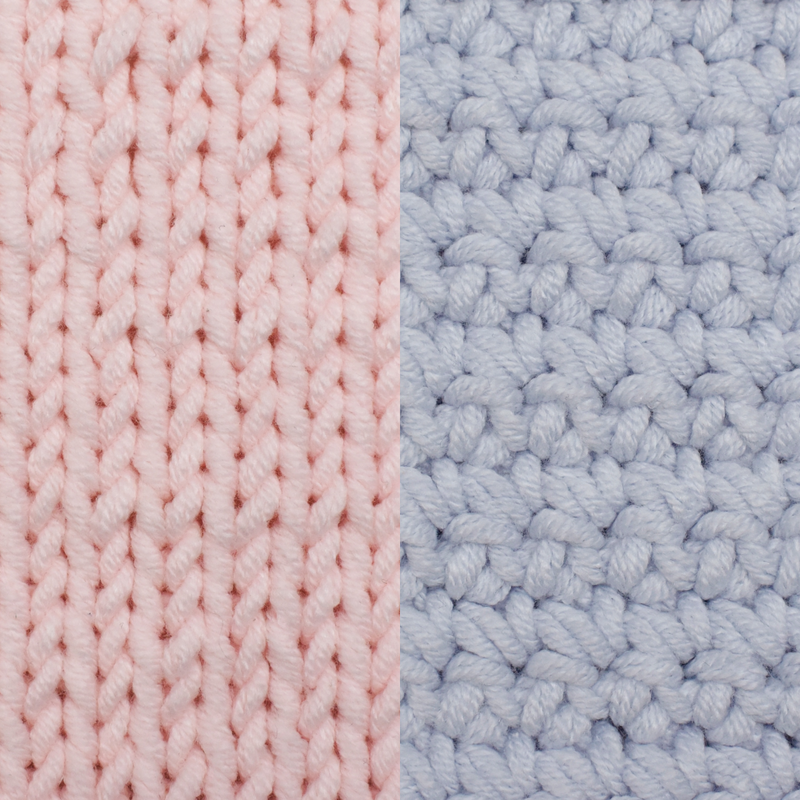
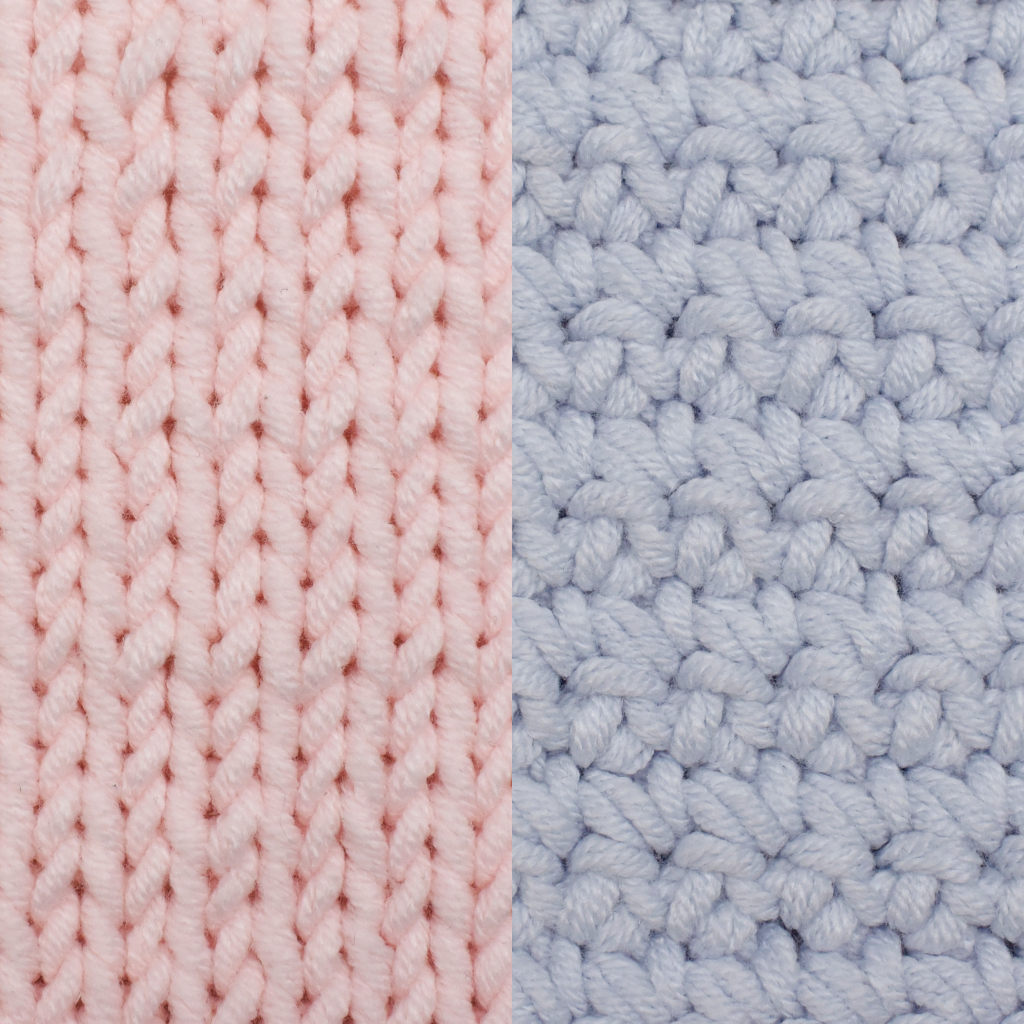
GAUGE:
13 htr x 9 rows crocheted in a rows.
ABBREVIATIONS:
htr – half treble crochet
ch/chs – chain/chains
sts – stitches
CROCHETING DIRECTION:
Bag is worked flat in rows. The 2 chs at the start of each row don’t count as a stitch.
BAG CROCHET PATTERN :
Using your chosen colour and 5 mm hook, make 36 chs.
Row 1: Starting from the 3rd ch from hook make htr in each chain, turn. (34 sts)
Row 2: 2 ch, htr in each stitch, turn. (34 sts)
Row 3 to row 24: Repeat row 2.
Fasten off and weave in the ending tail. Leave the starting tail for now.
STRAP CROCHET PATTERN:
This pattern is for a strap that’s 16” (40 cm). If you require a longer bag just add more chains to achieve the required length. Alternatively, you can purchase a ready-made leather or a chain strap.
Using your chosen colour and 5 mm hook, make 102 chs. Leave around 6” (15 cm) starting tail which will be used to sew the strap to the bag.
Row 1: Starting from the 3rd ch from hook, make htr in each ch, turn. (100 sts)
Fasten off leaving 6” (15 cm) but do NOT weave in the tails as you’ll use them to secure the strap to the bag.
FINISHING:
Step 1. SEW THE SIDES
Fold the bag in half and sew on the sides using one of the options below:
Option 1: Using MC yarn and 5 mm hook slip stitch through the edge of both layers of the bag to close it.
Option 2. Thread MC yarn on the large loop yarn needle and sew the sides using overcast stitches.
Step 2. ATTACH STRAPS
Thread the long tail on the end of the strap through the large eye needle and sew on the strap to the seam at the top edge of the bag. Make 2 to 3 overcast sts and then tie couple of knots with the tails to secure it and weave in the remaining end in the seam of the bag. Repeat on the other side of the bag.
Step 3. SEW IN THE ZIP OR INSERT POUCH WITH ZIP
You can make this cute bag even cuter by adding appliques or embroidering something cute.


Crochet Arcade


Dreamy Wool
Crochet Arcade


Crochet Arcade
Crochet Arcade

Crochet Arcade

Dreamy Wool
Crochet Arcade