


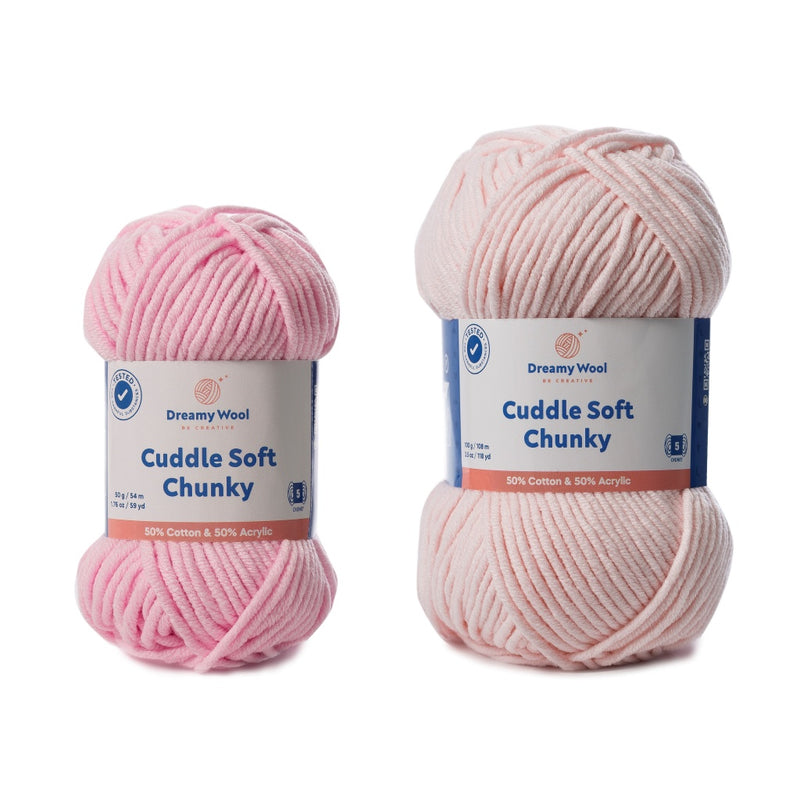
Designer: Dreamy Wool
- Regular
- $5.74
- Sale
- $5.74
- Regular
- $9.58
Sold Out
- Unit Price
- per
SKU
y-dw-csc-chu-sil-100

This cute travel bag is a perfect project for any crochet beginner who is just starting out on their crochet journey. All you need to know is how to make three basic crochet stitches: a chain, half treble crochet, and a decrease. The bag is worked in rows, which also makes it super easy.
This bag size has been designed to fit a passport, a large mobile phone, and some travel money too, making it a perfect airport travel neck pouch for keeping your most important items safe. It can also be used as a cute crossbody bag for children.

SIZE: W 13 cm x H 19 cm (5” x 7½”)
MATERIALS:
Yarn weight: Chunky / Size 5 / 12–14 Ply
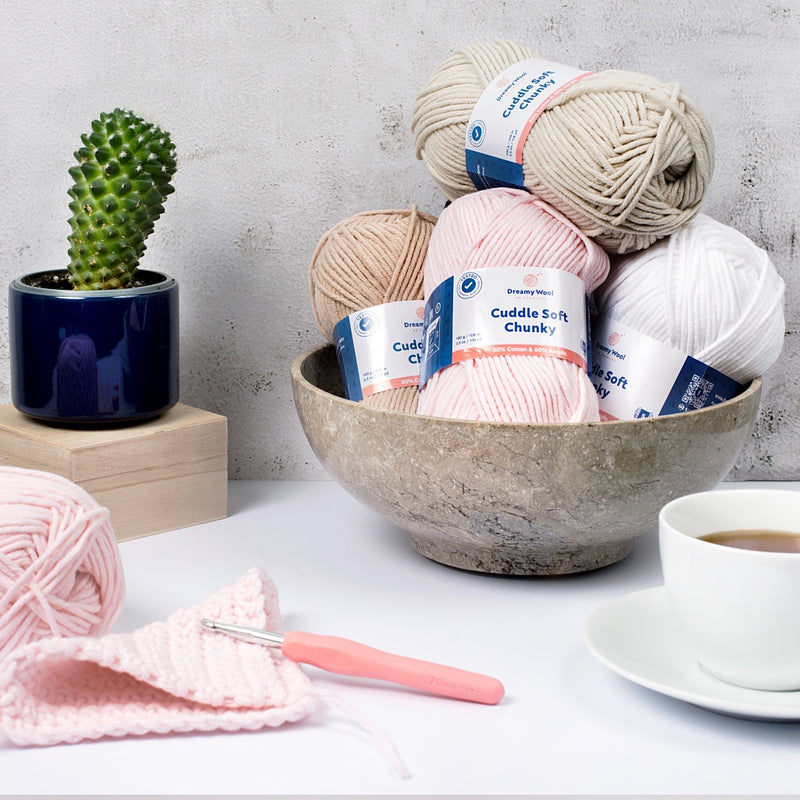
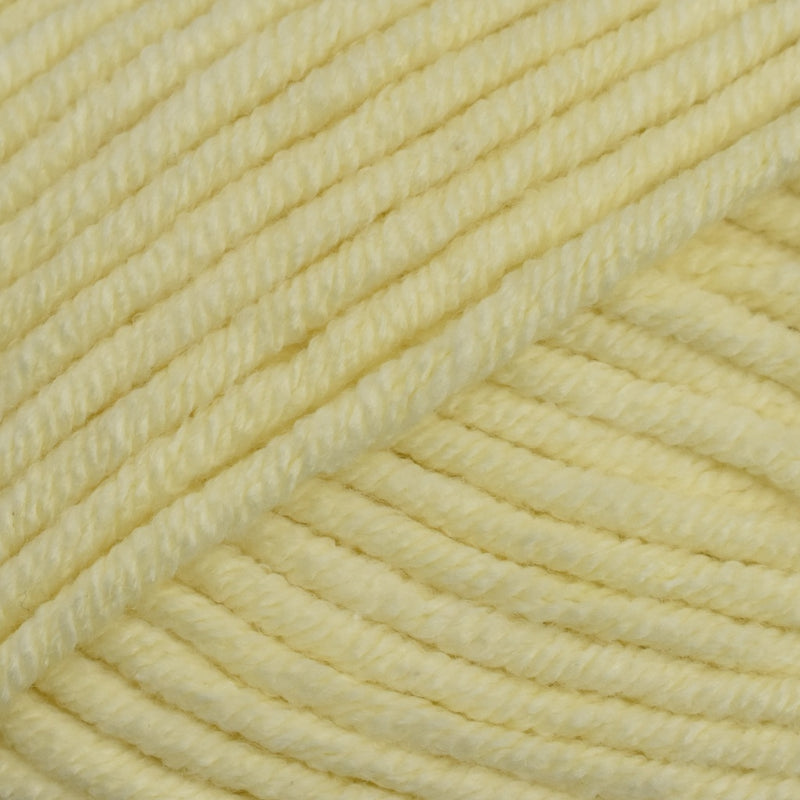
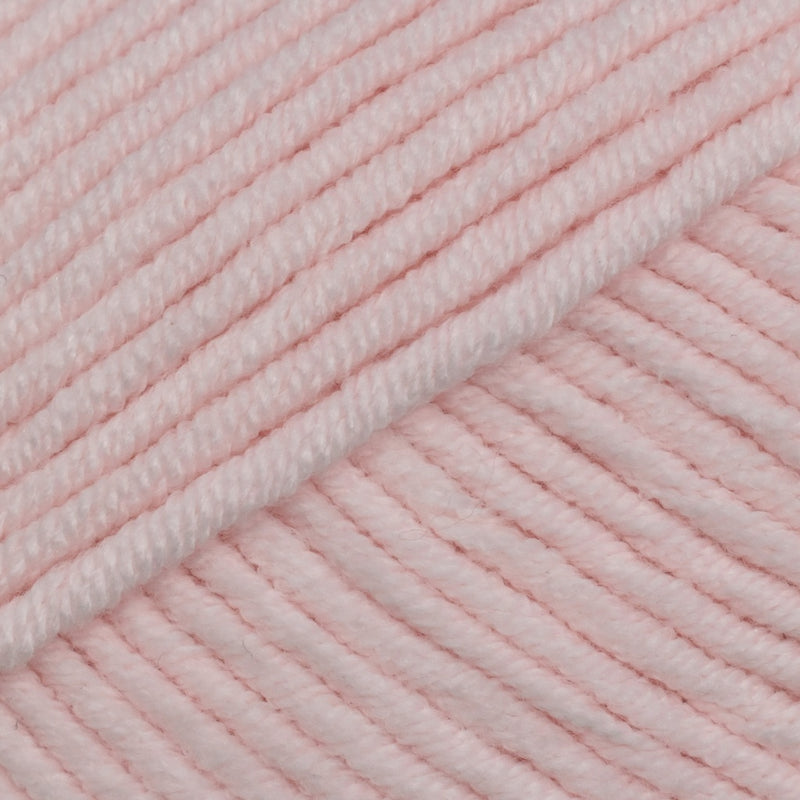
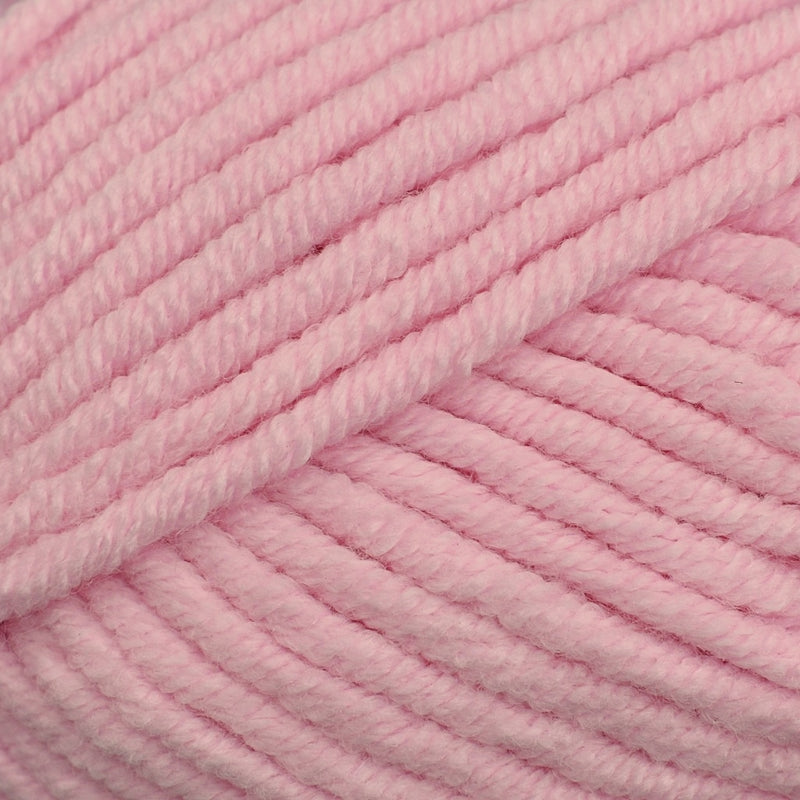
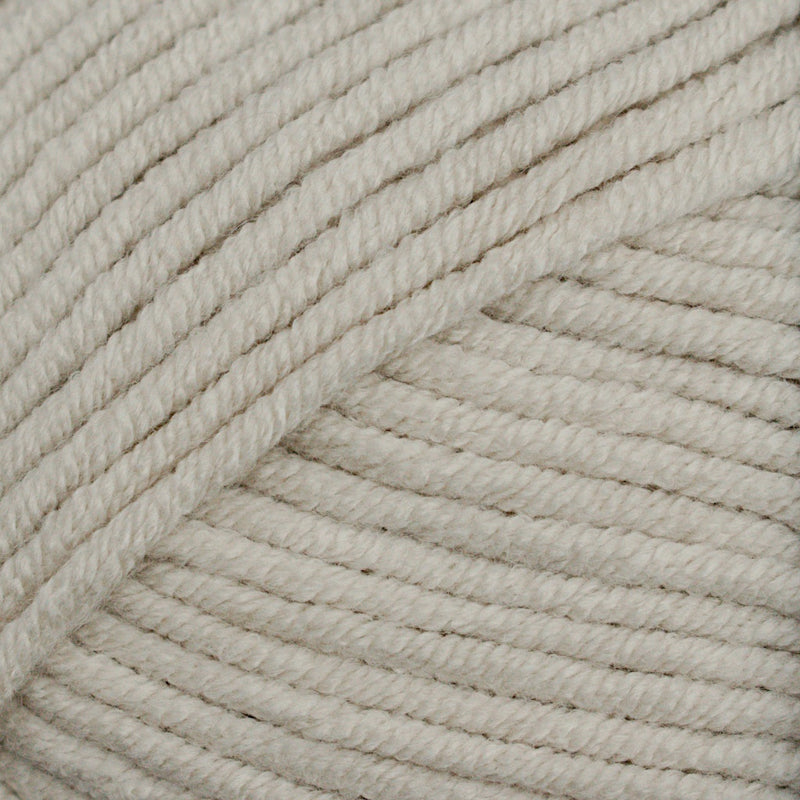
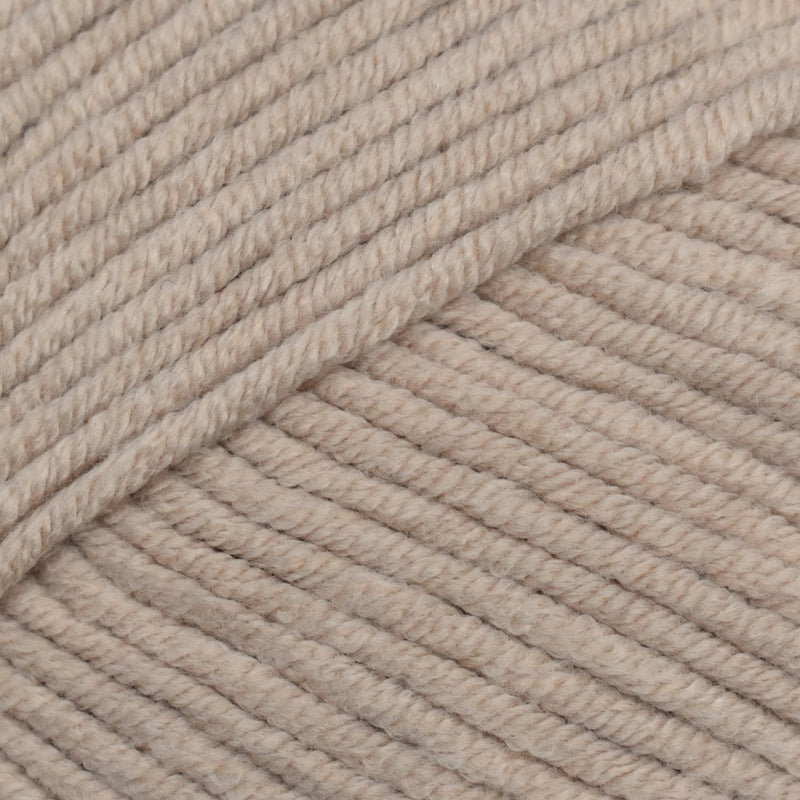
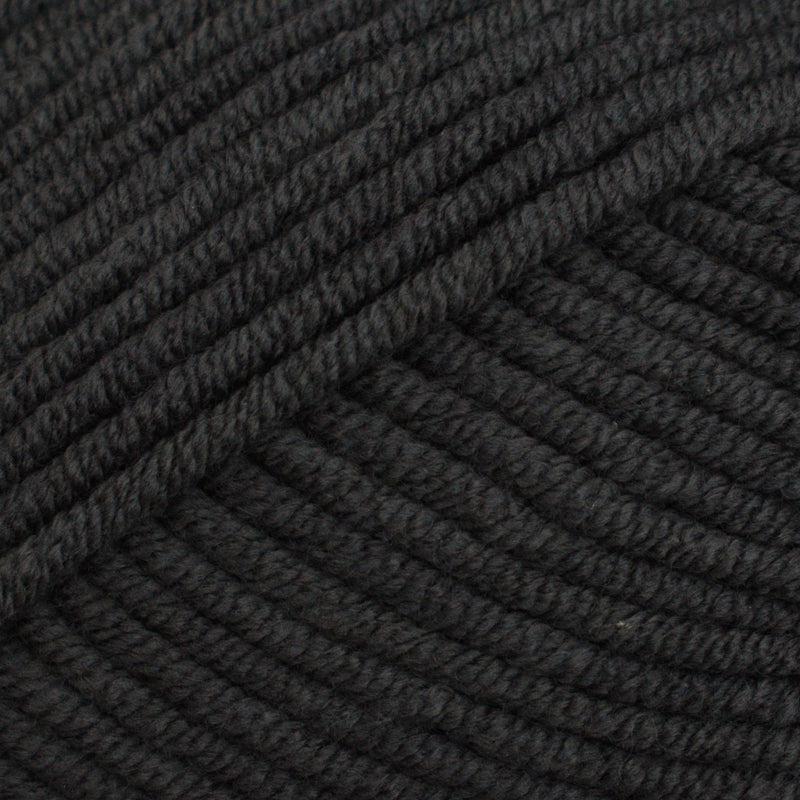
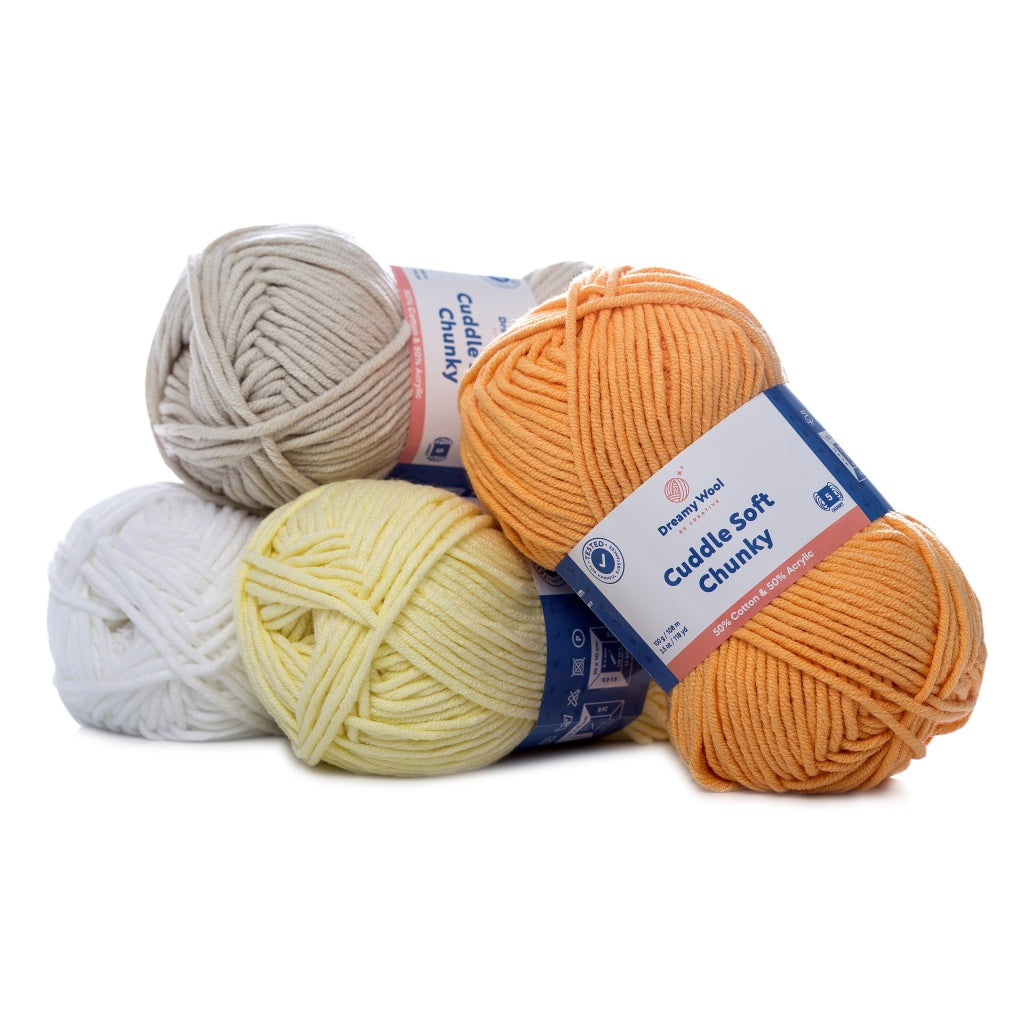
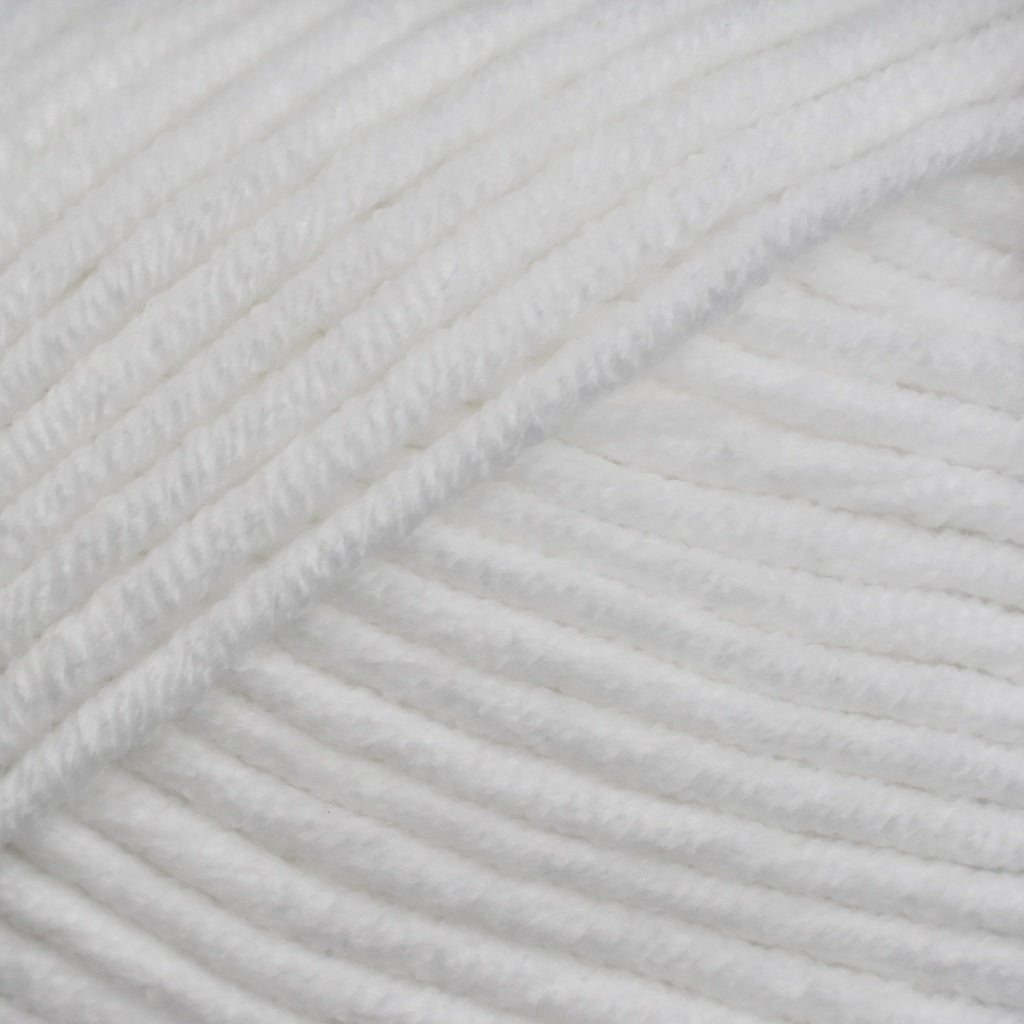
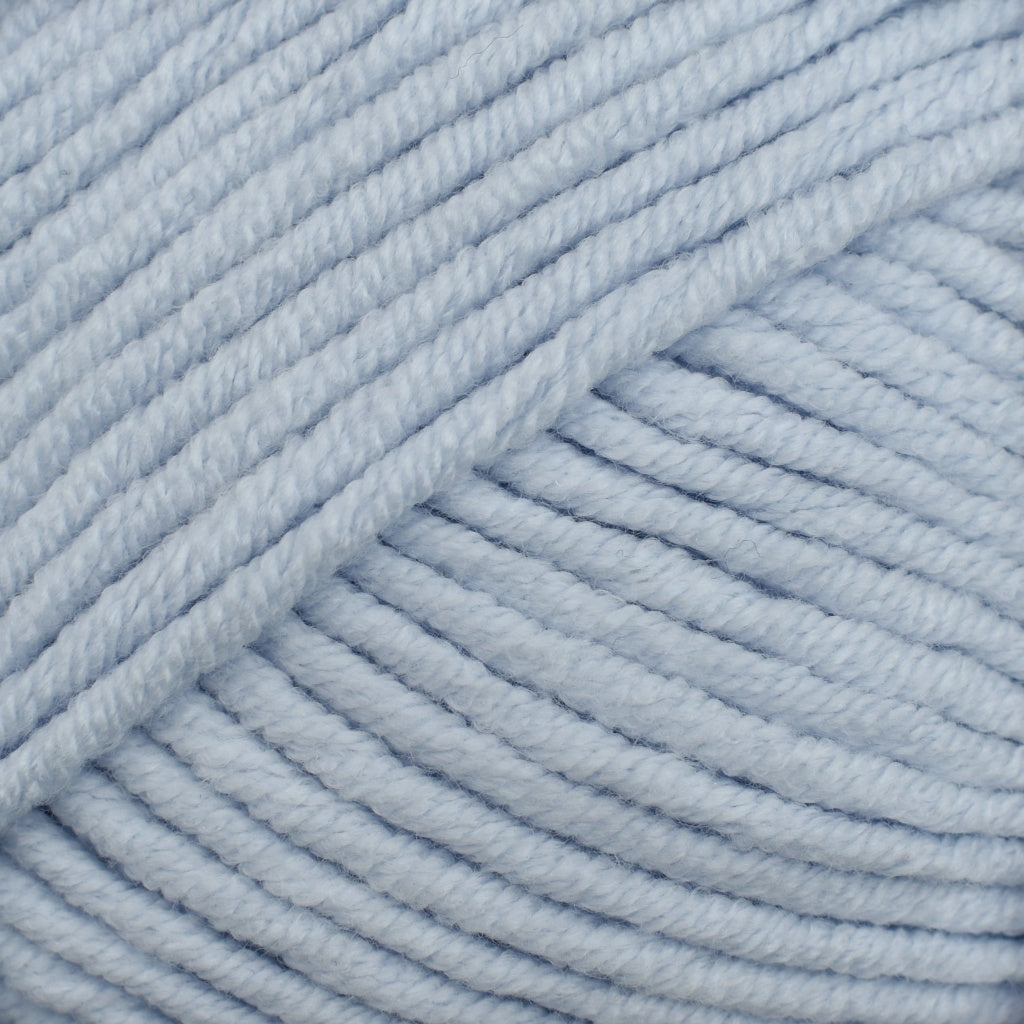
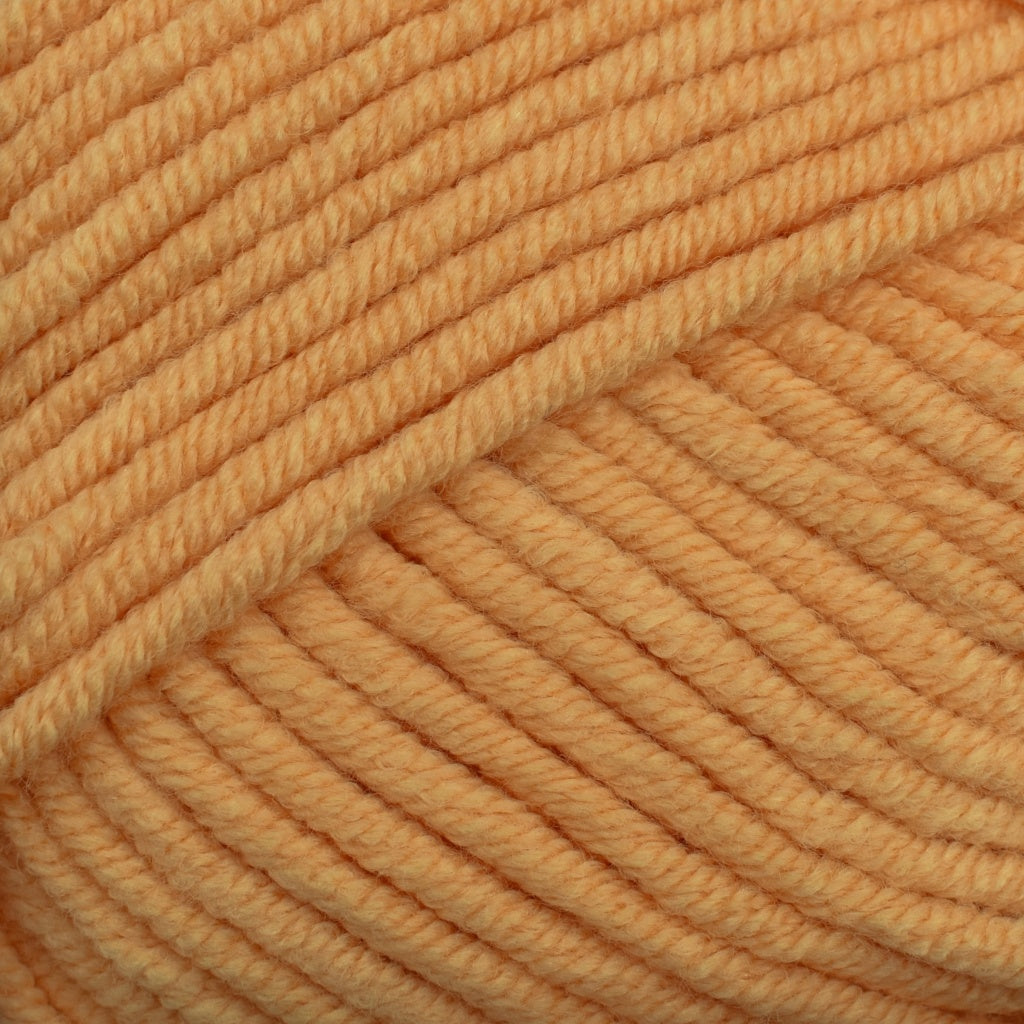
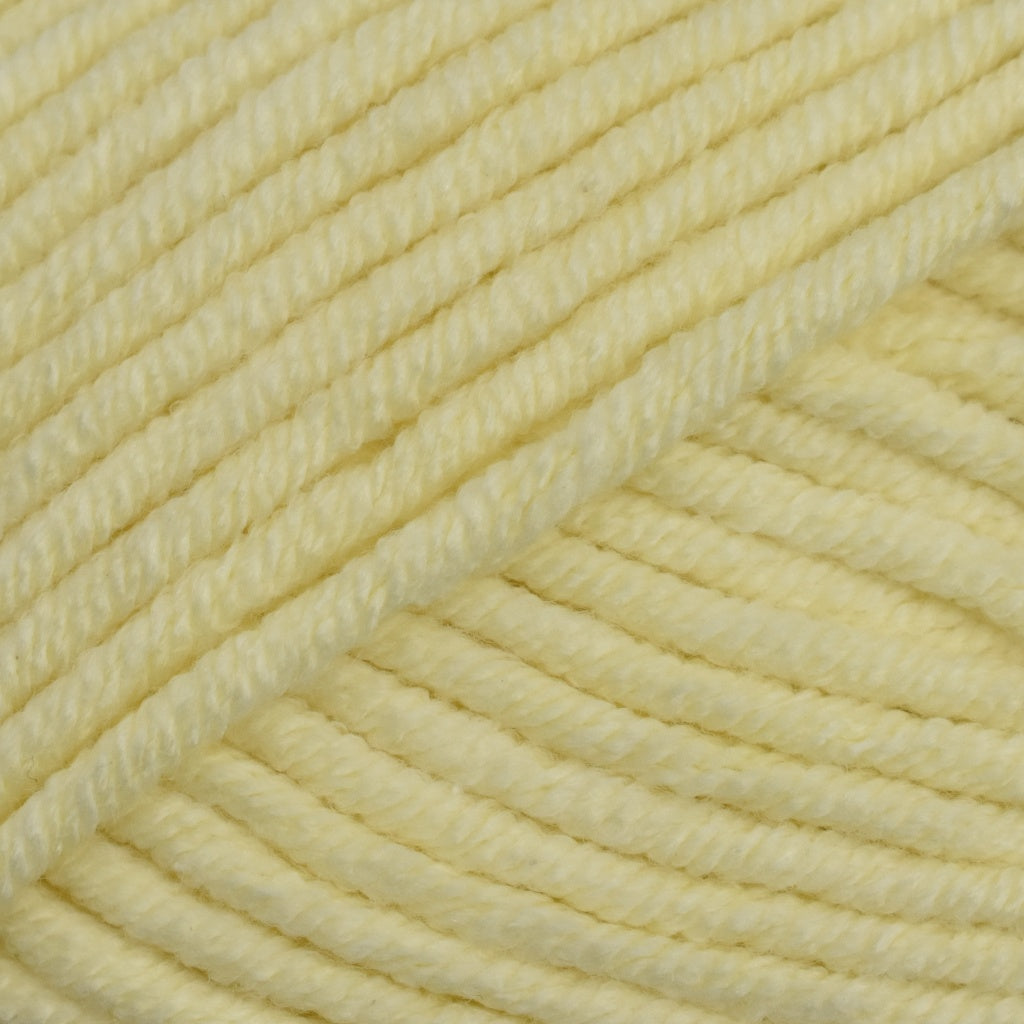
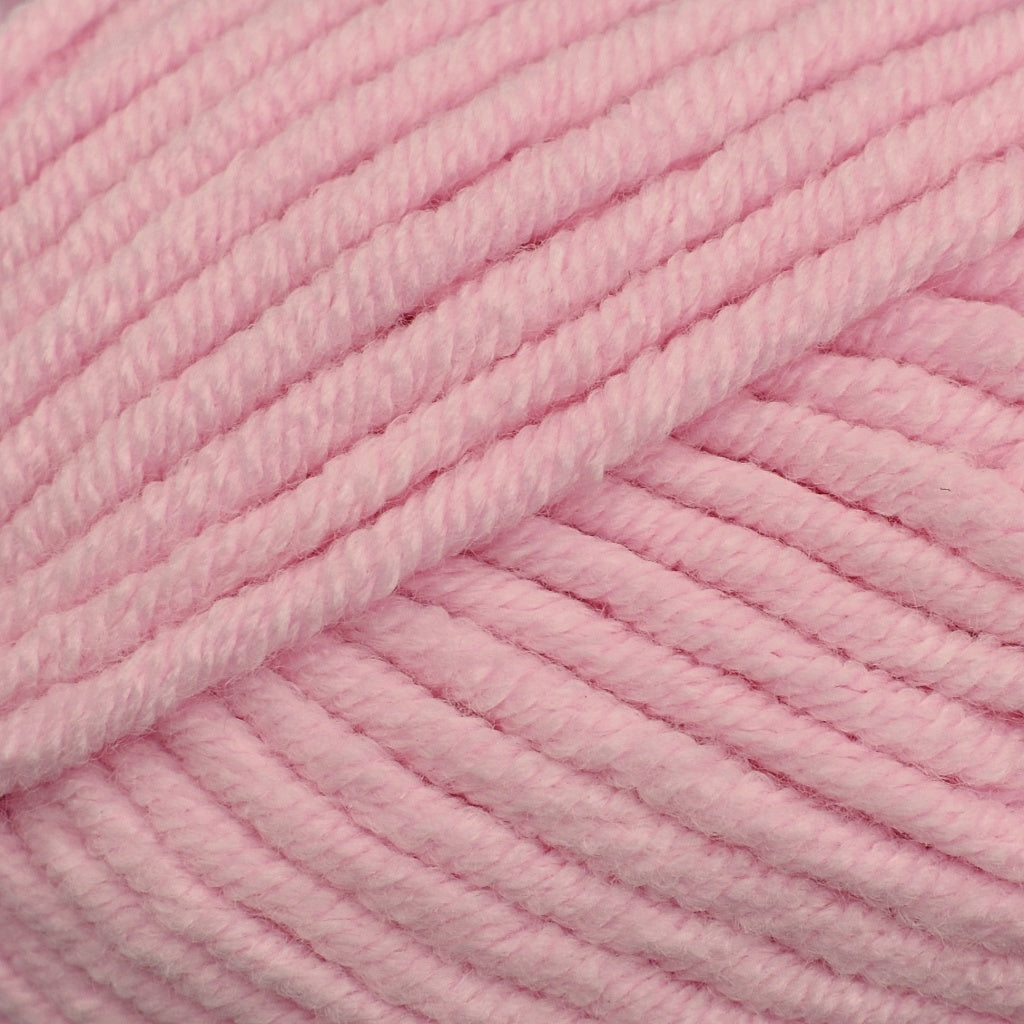
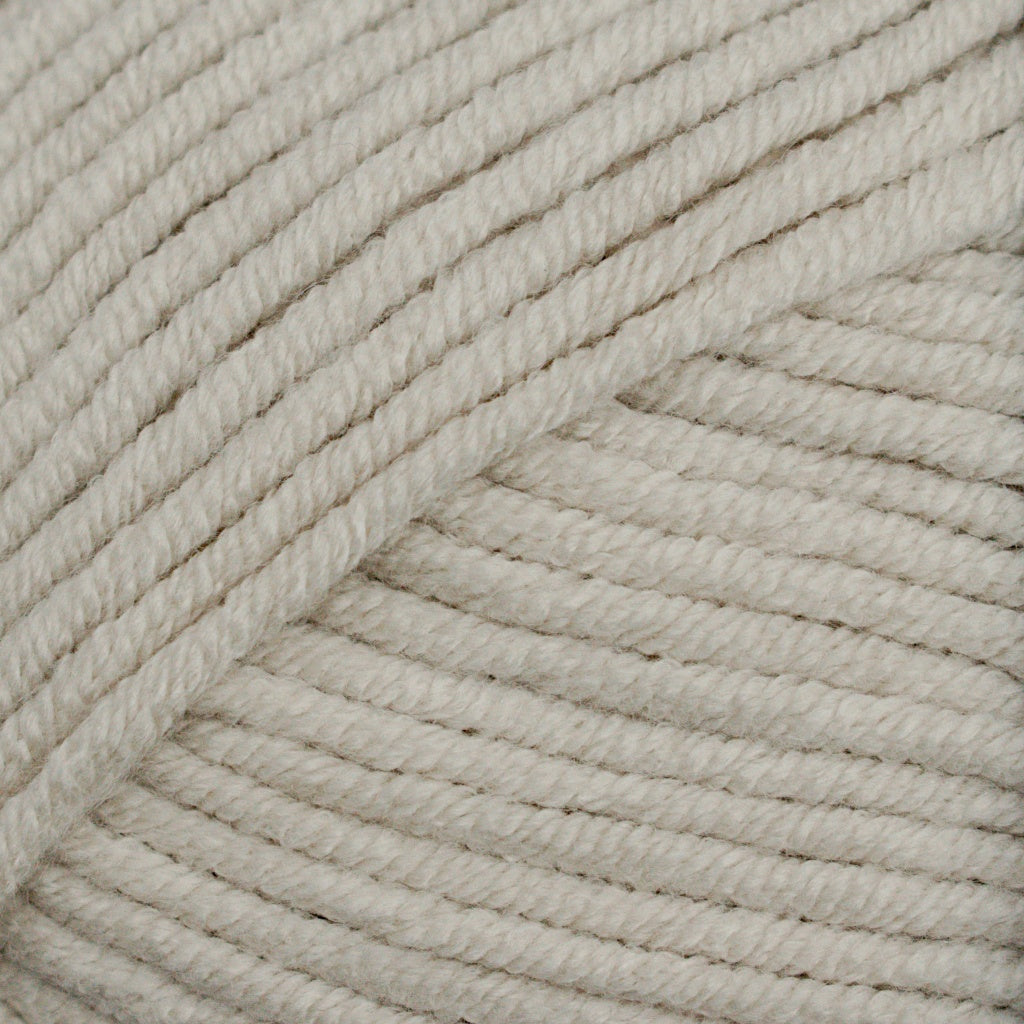
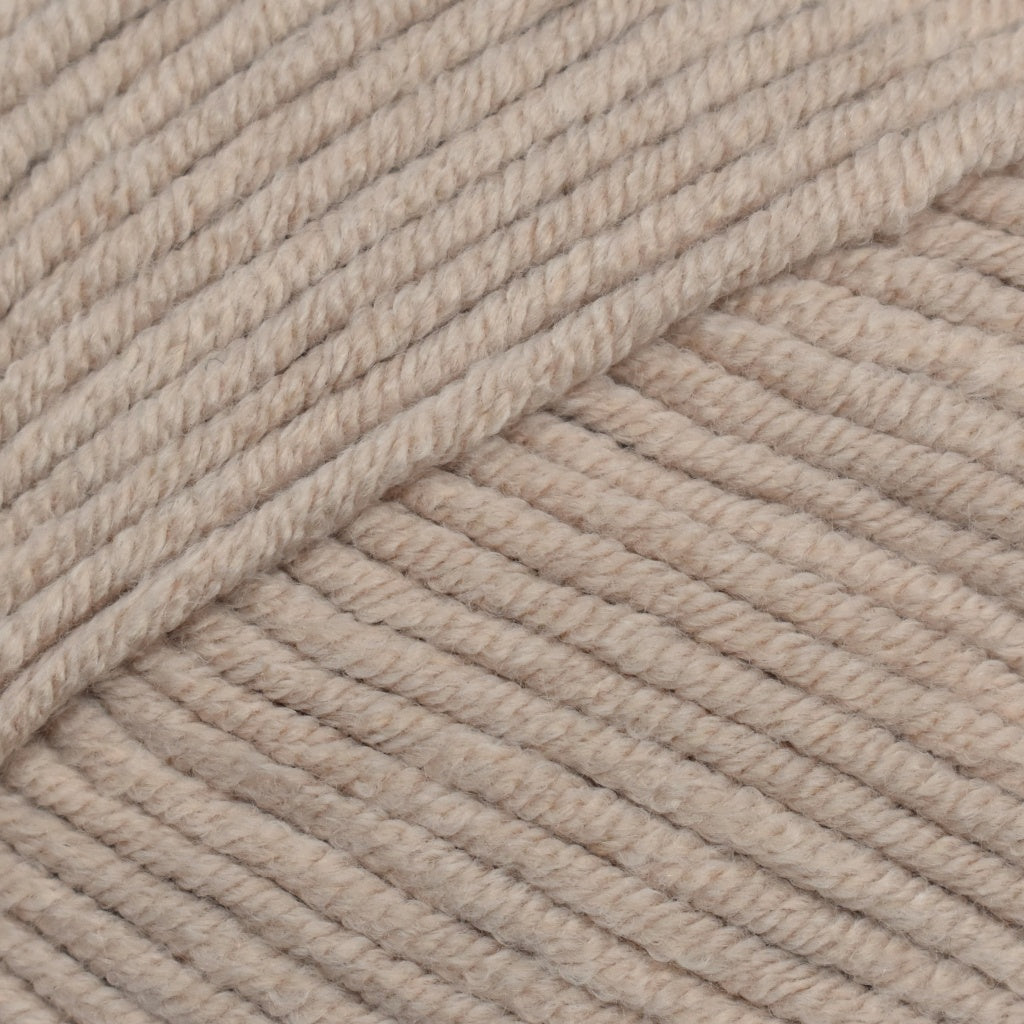
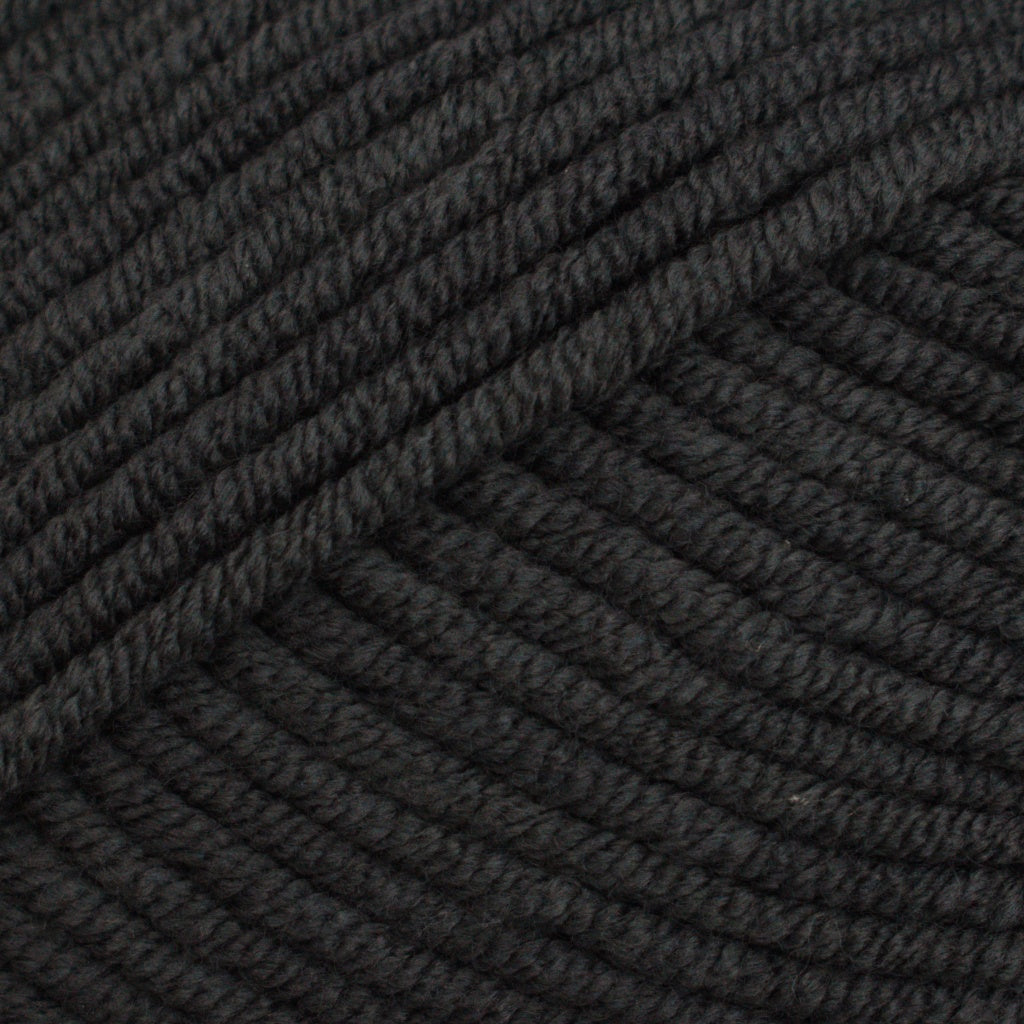
Yarn: Dreamy Wool Cuddle Soft Chunky Yarn
86.4 metres of Main Colour – 80 g
TOOLS:
5 mm crochet hook (H-8 US size)
Scissors and a yarn needle
GAUGE:
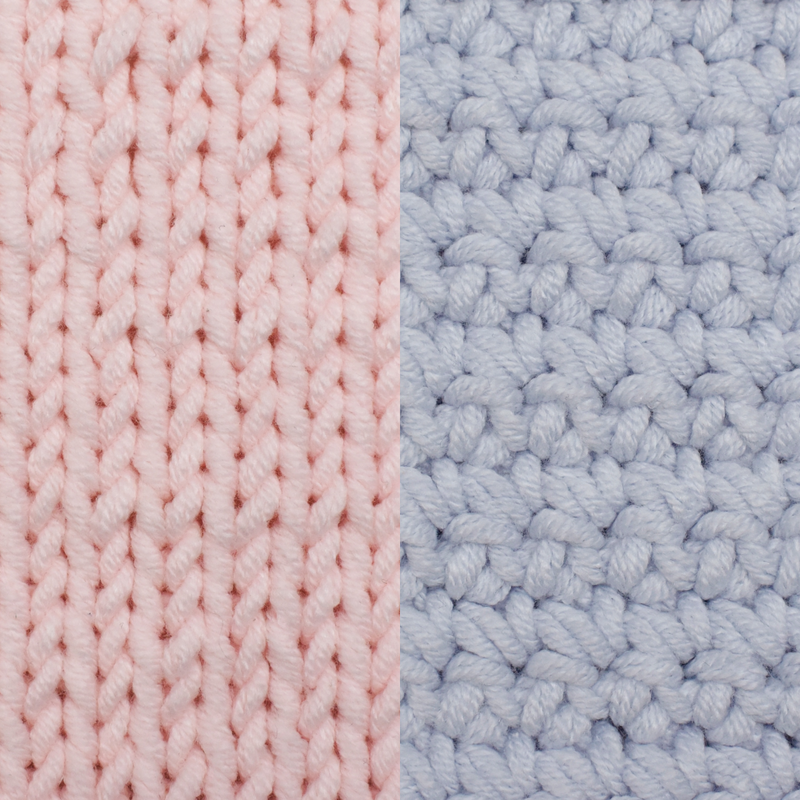
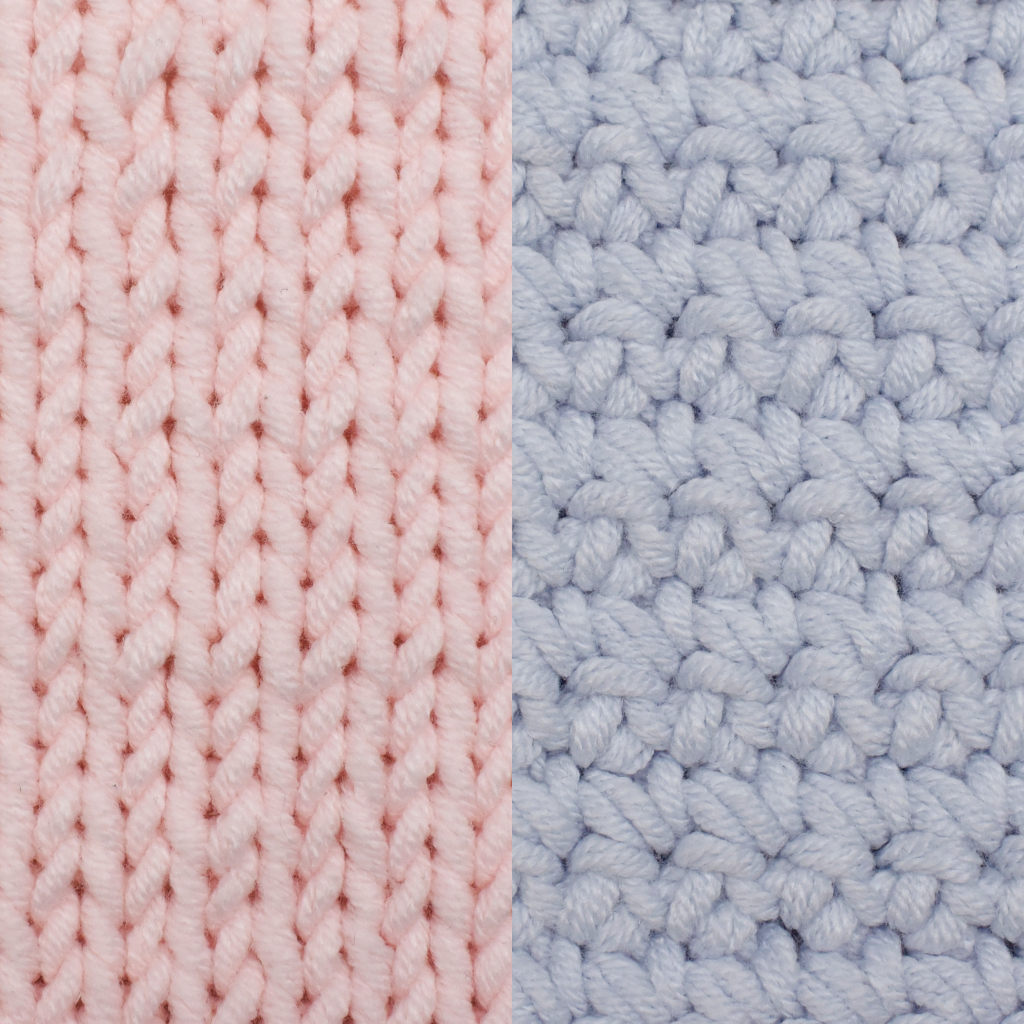
13 htr x 9 rows crocheted in rows.
CROCHET TERMS: UK crochet terms.
If you follow US crochet terms, remember that UK half treble crochet (htr) is the same stitch as half double crochet (hdc) in US terms.
ABBREVIATIONS:
htr – half treble crochet
htr2tog – half treble two together (htr decrease)
ch – chain
sts – stitches
sl st – slip stitch
CROCHETING DIRECTION:
The bag is worked flat in rows. The 2 ch at the start of each row don’t count as a stitch.
BAG CROCHET PATTERN:
Using your chosen colour and a 5 mm hook, make 17 ch.
Row 1: Starting from the 3rd ch from the hook, make htr in each chain, turn. (15 sts)
Row 2: 2 ch, htr in each stitch, turn. (15 sts)
Rows 3–39: Repeat Row 2.
Row 40: 2 ch, htr2tog, htr in next 11 sts, htr2tog, turn. (13 sts)
Row 41: 2 ch, htr2tog, htr in next 9 sts, htr2tog, turn. (11 sts)
Row 42: 2 ch, htr2tog, htr in next 7 sts, htr2tog, turn. (9 sts)
Row 43: 2 ch, htr2tog, htr in next 5 sts, htr2tog, turn. (7 sts)
Fasten off and weave in the ending tail. Leave the starting tail for now.
The first 34 rows will form the bag, and the last 9 rows will be the flap.
STRAP CROCHET PATTERN:
This pattern is for a strap that’s 16” (40 cm) when folded, which will suit a passport travel bag that sits at chest height for an adult or at hip level for a child. If you require a longer strap, just add more chains to achieve the required length. Alternatively, you can purchase a ready-made leather or chain strap.
Using your chosen colour and a 5 mm hook, make 102 ch. Leave around a 6” (15 cm) starting tail, which will be used to sew the strap to the bag.
Row 1: Starting from the 3rd ch from the hook, make htr in each ch, turn. (100 sts)
Row 2: Sl st in each st. (100 sts)
Fasten off, leaving a 6” (15 cm) tail, but do NOT weave in the tails as you’ll use them to secure the strap to the bag.
FINISHING:
Step 1. SEW THE SIDES
Fold the bag after the first 17 rows and sew the sides using one of the options below:
Option 1: Using MC yarn and a 5 mm hook, slip stitch through the edge of both layers of the bag to close it.
Option 2: Thread MC yarn on a large-eye yarn needle and sew the sides using overcast stitches.

Step 2. ATTACH MAGNETIC SNAP BUTTON
Sew on the thinner part of the snap button to the inner edge of the flap, centred on rows 42 and 43.
Now fold the flap (the last 9 rows of the bag) over the bag and mark where to attach the second part of the snap button, then sew it on.

Step 3. ATTACH STRAPS
Thread the long tail at the end of the strap through a large-eye needle and sew the strap to the seam at the top edge of the bag. Make 2 to 3 overcast sts, then tie a couple of knots with the tails to secure it, and weave in the remaining end into the seam of the bag. Repeat on the other side of the bag.

Now use your imagination to make this cute travel bag even prettier! Add flowers or other appliqués. You can use our mini sunflower free crochet pattern or simple flower free crochet pattern.


Crochet Arcade


Dreamy Wool
Crochet Arcade


Crochet Arcade
Crochet Arcade

Crochet Arcade

Dreamy Wool
Crochet Arcade