


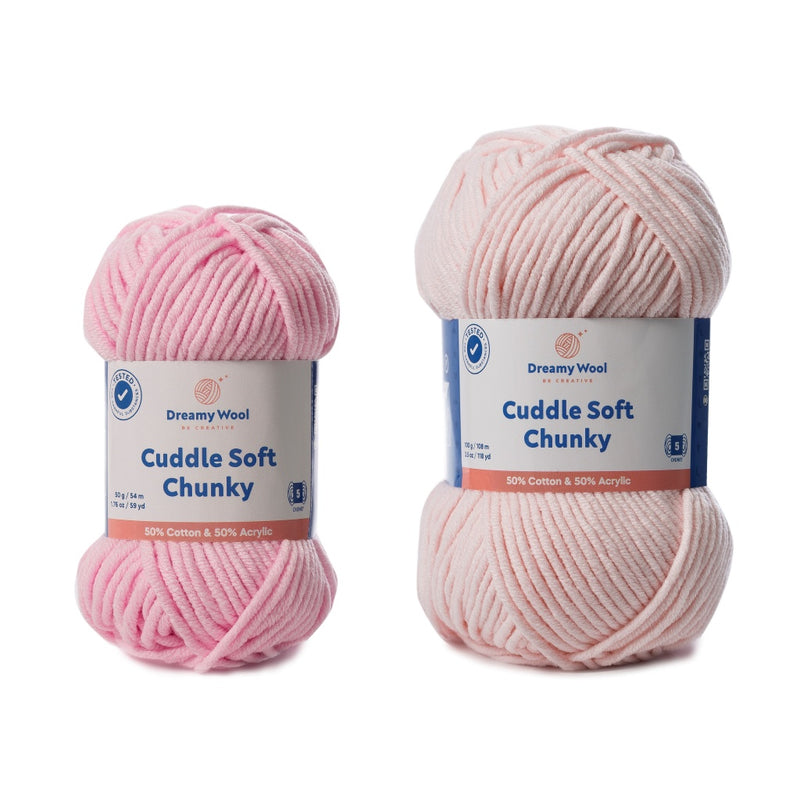
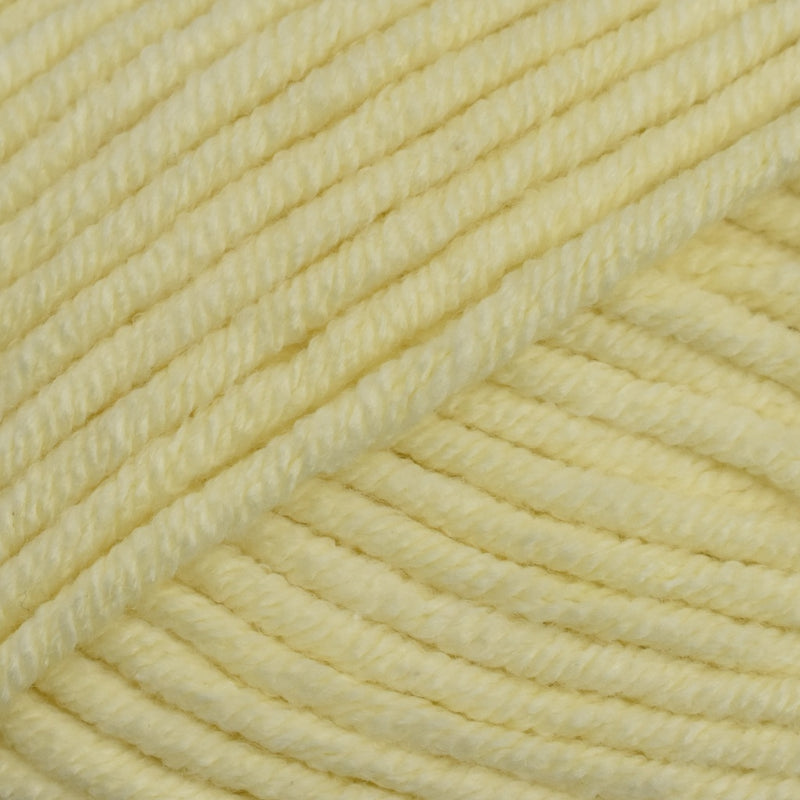
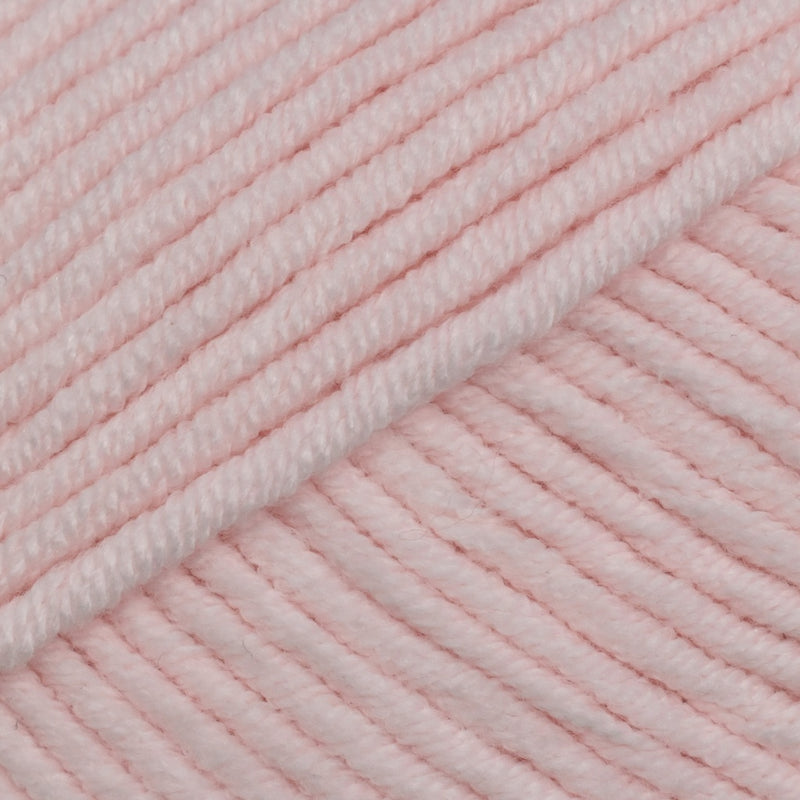
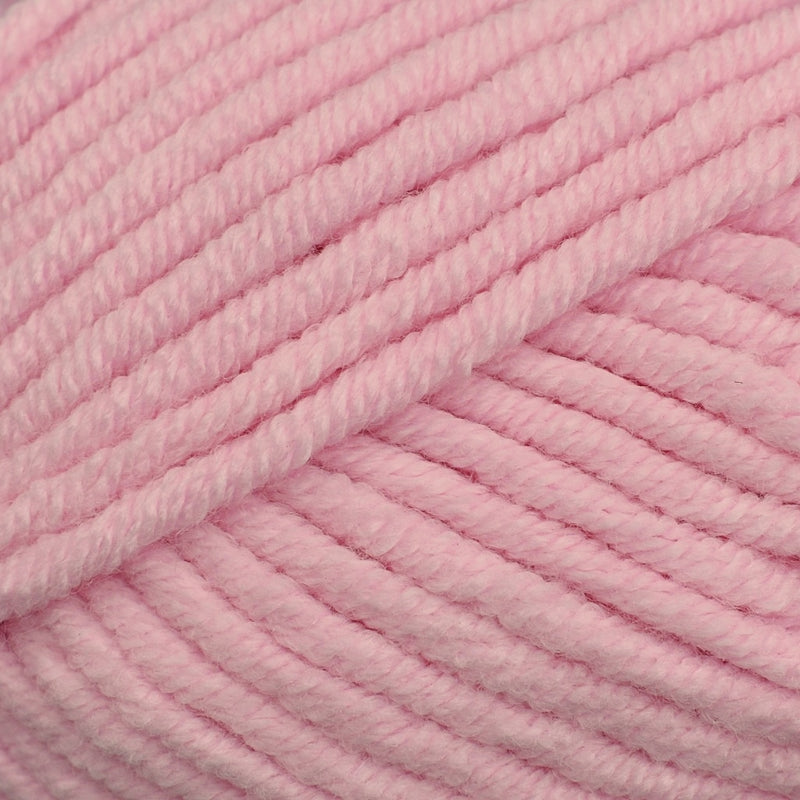
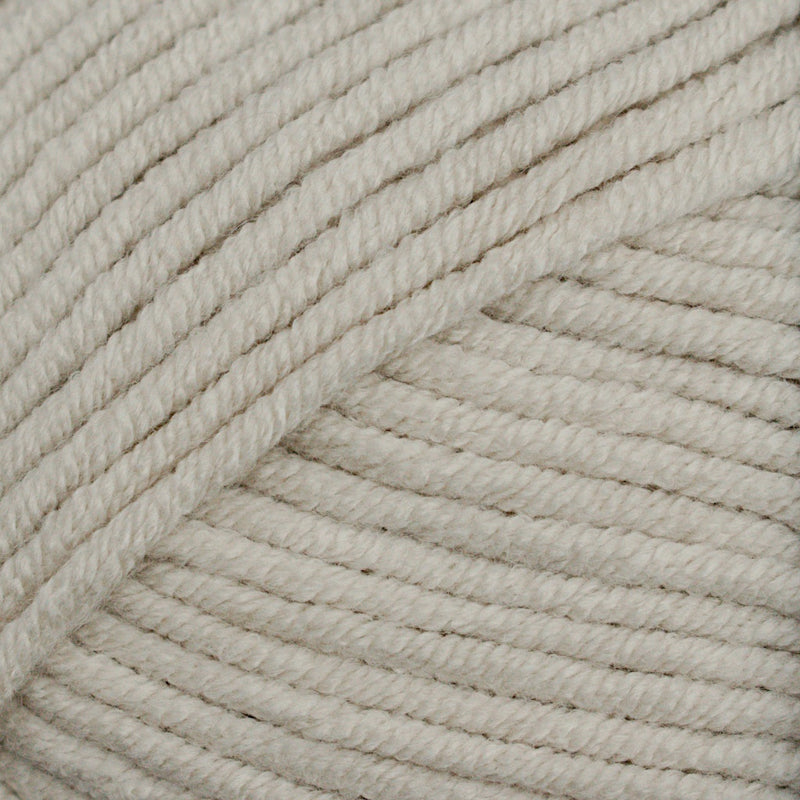
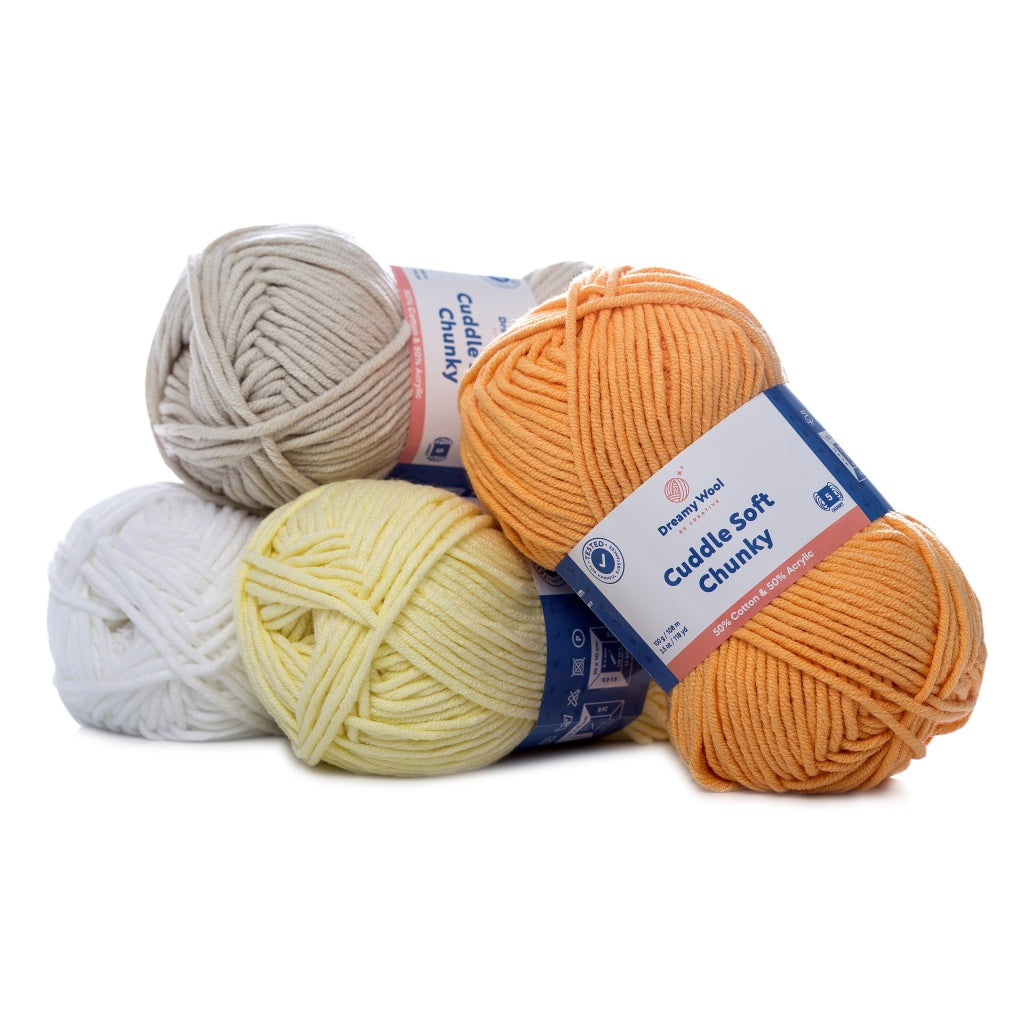
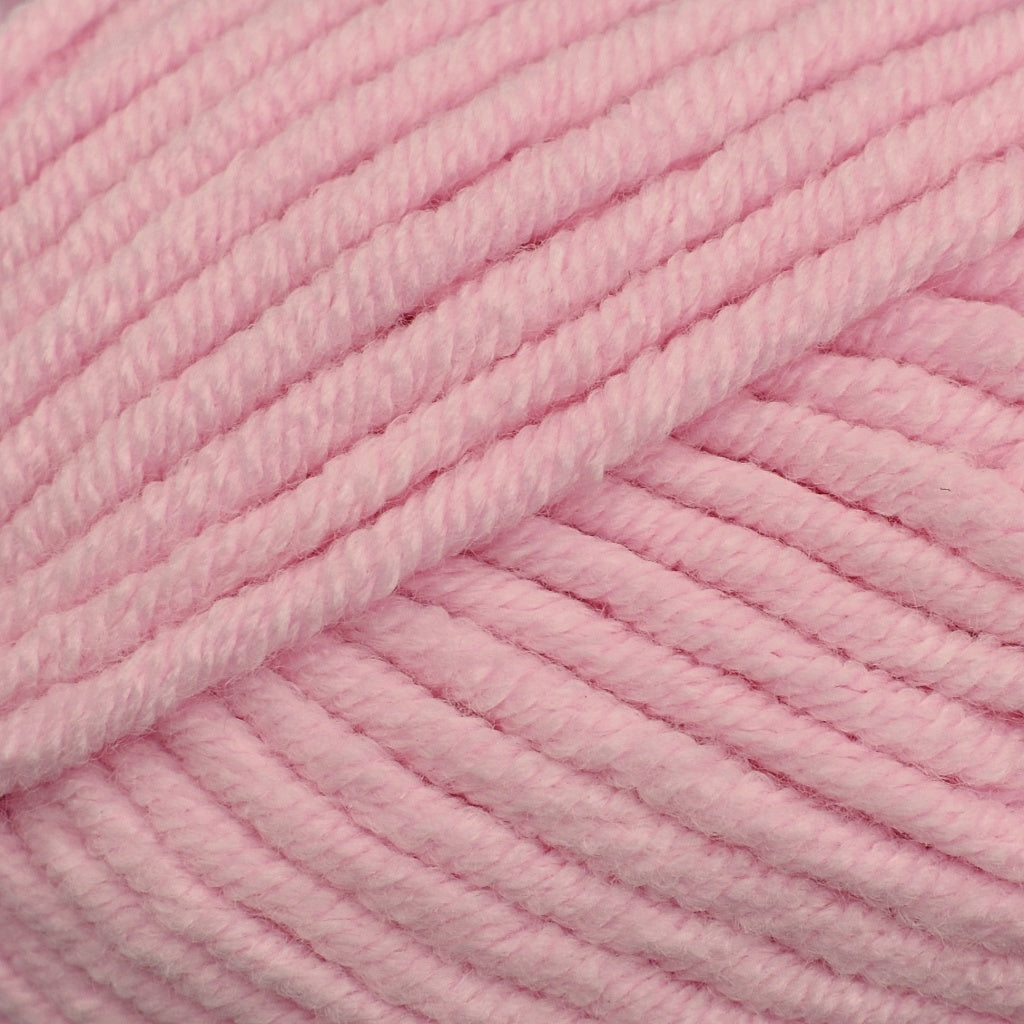
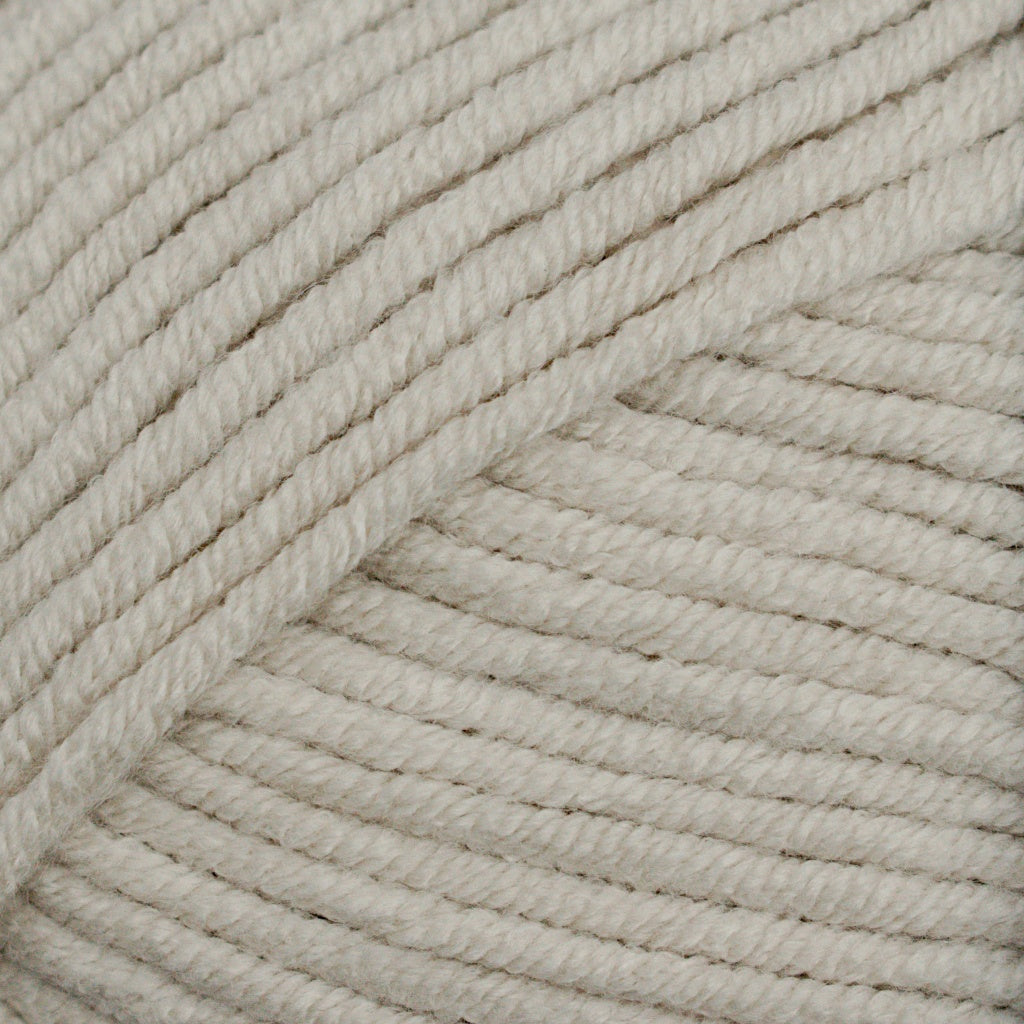
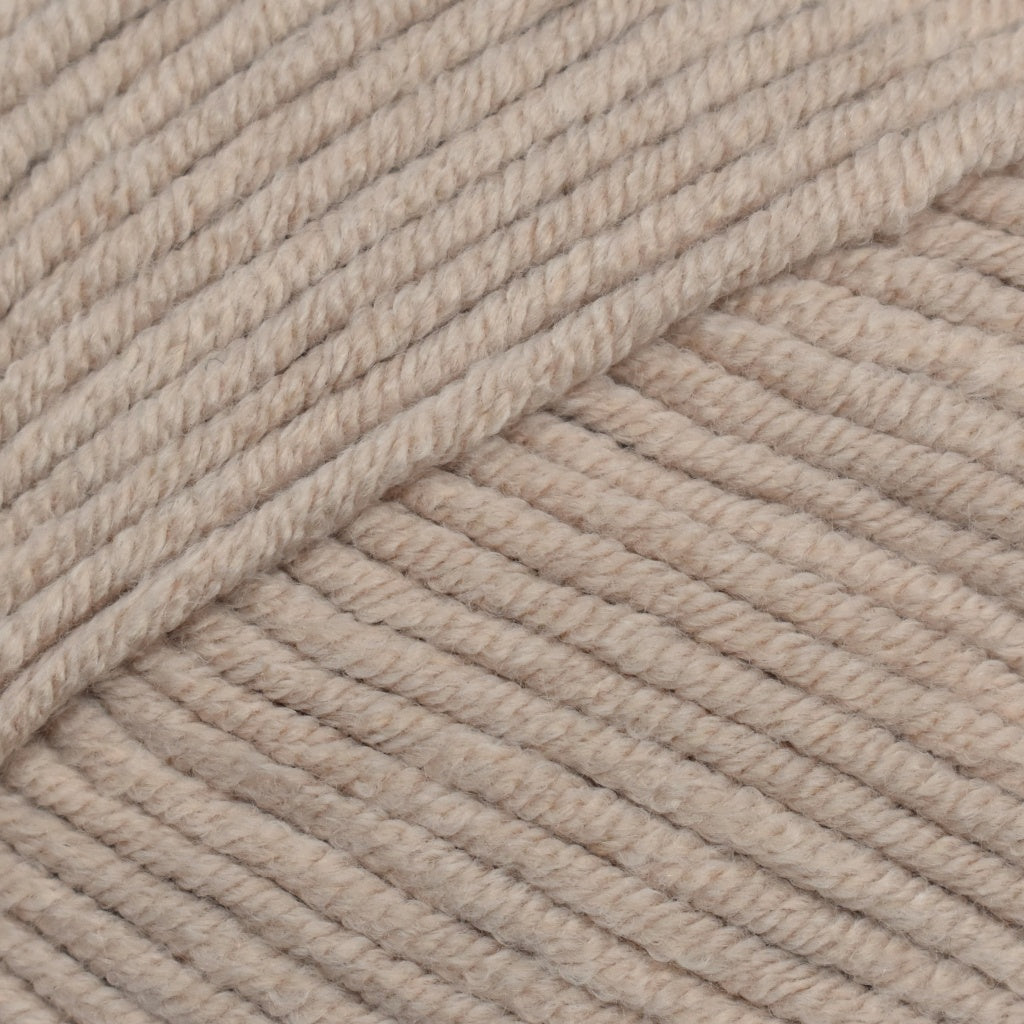
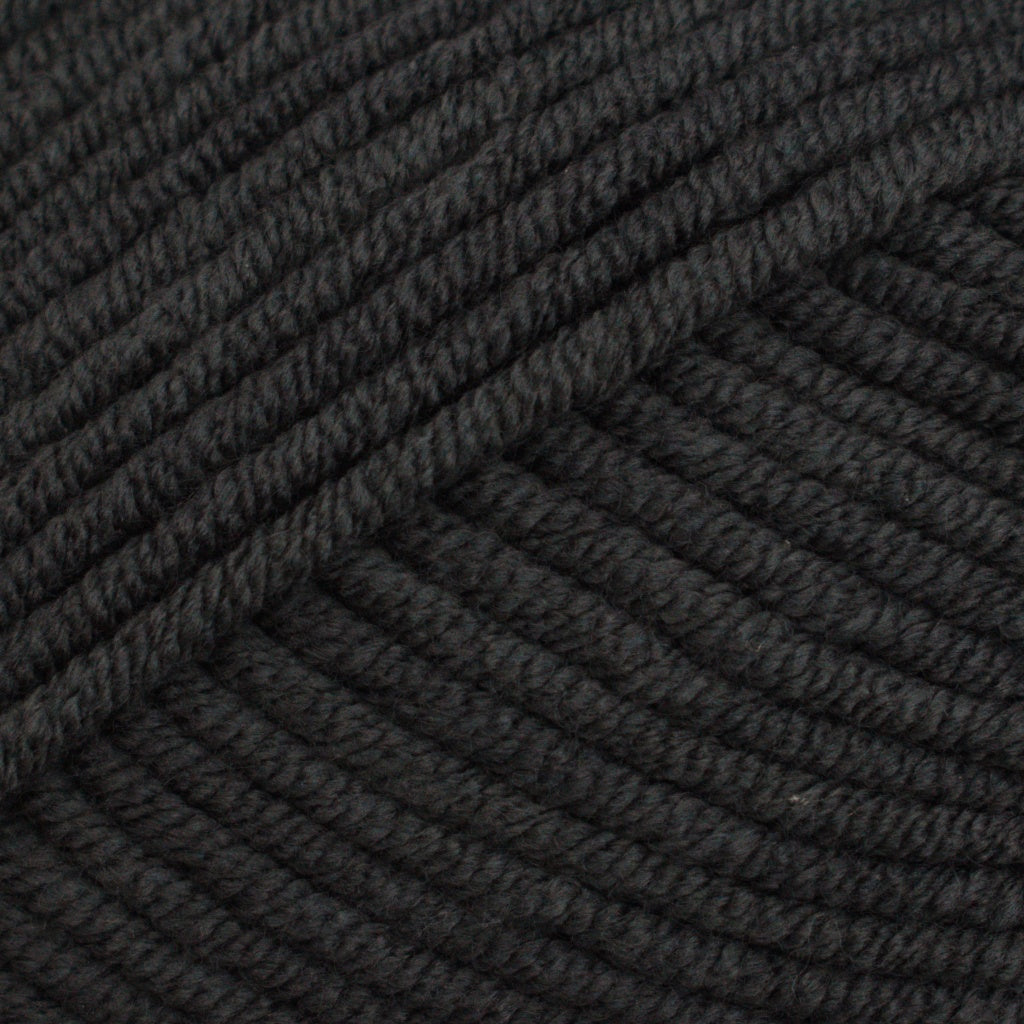
Designer: Dreamy Wool
- Regular
- £2.99
- Sale
- £2.99
- Regular
- £4.99
Sold Out
- Unit Price
- per
SKU
y-dw-csc-chu-sil-100

VIDEO COMING SOON! - Watch this space for an update with a link to a video
If you love practical crochet projects with lots of character, this Owl Basket / Plant Pot Cover is such a fun one to make. It’s quick, useful and looks adorable styled around the home.
You can use it as a plant pot cover, a little storage basket for craft tools, a cute desk tidy, a nursery accessory or even a handmade gift basket filled with treats. It also works beautifully as seasonal woodland décor and makes a lovely project if you want something small but eye-catching.
To make things easier for everyone, I’ve included both UK and US crochet terms below. The pattern opens in UK terms first, and you can switch to the US version by clicking the button.

Basket base: 5.5–6" (14–15 cm) in diameter
Height: 5” (13 cm)
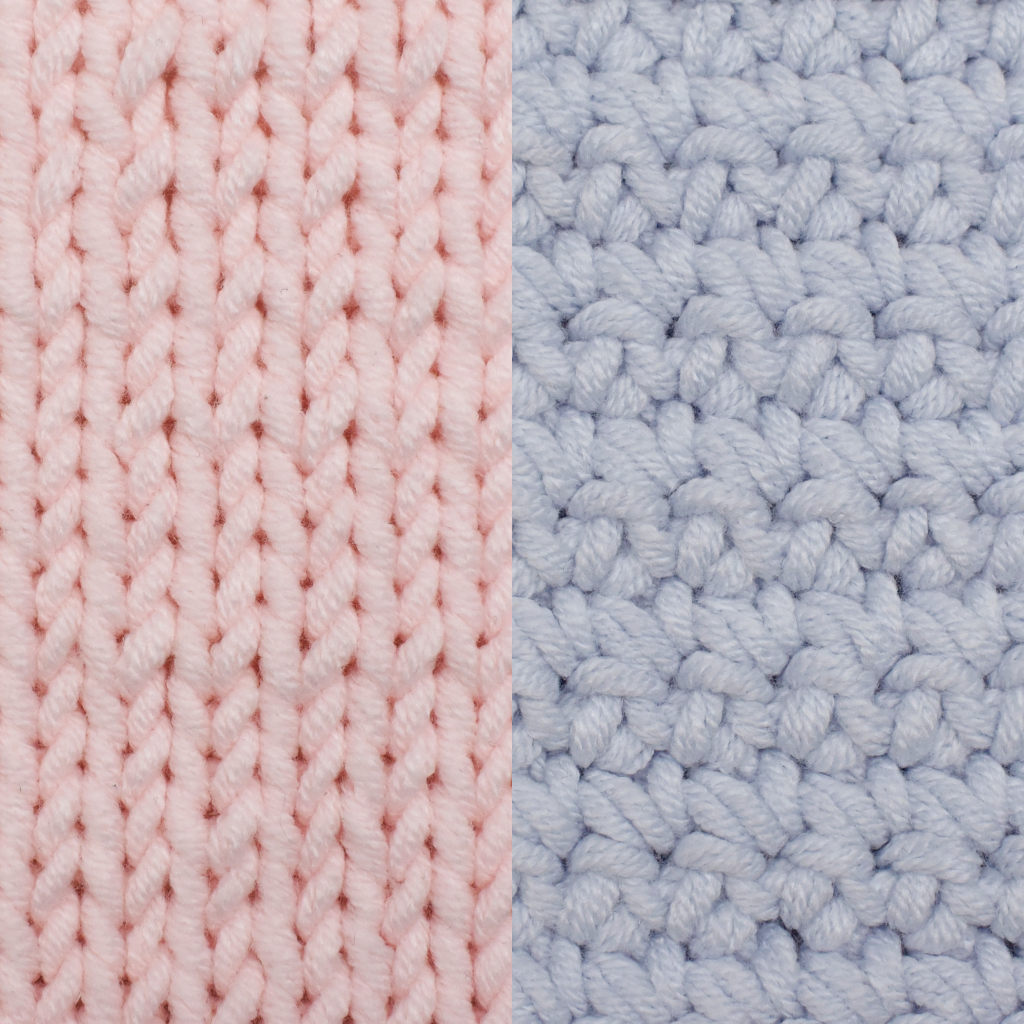
Double strand using 8 mm hook: 9 dc and 9 rows
Single strand using 6 mm hook: 12 dc and 13 rows

Pattern notes: Worked in joined rounds using a double strand of yarn throughout.
Starting: Using 2 strands of MC and 8 mm hook, make a magic ring.
Rnd 1: 1 ch, 6 dc into ring. Join with sl st. (6 sts)
Rnd 2: 1 ch, 2 dc in each st around. Join. (12 sts)
Rnd 3: 1 ch, [dc in next st, 2 dc in next st] x 6. Join. (18 sts)
Rnd 4: 1 ch, [dc in next 2 sts, 2 dc in next st] x 6. Join. (24 sts)
Rnd 5: 1 ch, [dc in next 3 sts, 2 dc in next st] x 6. Join. (30 sts)
Rnd 6: 1 ch, [dc in next 4 sts, 2 dc in next st] x 6. Join. (36 sts)
The bottom of the basket is done and should measure 5.5–6" (14–15 cm) in diameter. If your circle is too small, add another round using the same increase pattern: [dc in next 5 sts, 2 dc in next st] around. You will then have 42 sts for the remainder of the basket.
Continue working the sides of the basket using a double strand of MC and the same hook:
Next Rnd: 1 ch, BPdc in each st around. Join.
Next Rnd: 1 ch, dc in each st around. Join.
Repeat the last round until the basket measures approximately 5" (13 cm) tall.
Finishing: Fasten off and weave in all yarn tails on WS securely.

Pattern notes: Worked in a continuous spiral using a single strand of yarn
Starting: Using either Colour A or B and 6 mm hook, make a magic ring.
Rnd 1: 1 ch, 5 dc into ring. (5 sts). Pull on the starting tail to close the ring. Weave in the starting tail securely and tie a knot.
Rnd 2 to 4: dc in each st around. (5 sts)
Finishing: Slip st to the next st and fasten off leaving around 10" (25 cm) tail for attaching.
Add a small amount of toy stuffing or fill with scraps of matching colour yarn.
Close the opening by threading the yarn tail through the front loops of the remaining stitches and pulling tightly.
Pattern notes: Below are two examples of colour combinations. Choose one you prefer.
Below are simple eyes using 3 colors.

The photo below shows how you can use a fourth colour and embellishments using various colour threads. Feel free to embellish the eyes further with glitter, sequins, beads or other craft supplies.

Pattern notes: Worked in joined rounds using single strand.
When making sl sts in the rounds below make them loosely so your work doesn’t roll up (excluding joining sl sts)
Starting: Using single strand of Colour A and 6 mm hook, make a magic ring.
Rnd 1: 1 ch, 6 dc into ring. Pull on the starting tail to close the ring. Insert the hook in the first st of the round, drop Colour A and yo Colour B and pull through the stitch and the lp on your hook to join the round. (6 sts)
Rnd 2: 1 ch, 2 dc in each st around. Join the round by pulling colour A instead to do the last joining sl st. (12 sts)
Rnd 3: Sl st (loosely) in the bl of each stitch around. (12 sts)
Join with a sl st to the first sl st of the round. Cut the yarn and fasten off. I recommend using an invisible join to avoid a visible bump.
Using MC create a loop on your hook and sl st to the bl of the 1st st of previous round.
Note that all stitches in the next round will be made in the bl of the sl sts made in round 3.
Rnd 4: 1 ch, [dc in bl of next st, 2 dc in bl of next st] x 6, join with sl st. (18 sts)
Rnd 5: 1 ch, dc in next st, 2 htr in next st, tr in next st, 2 tr in next st, [htr in next st, 2 htr in next st] x 3, dc in next st, sl st in next 7 sts, join with sl st. (23 sts)
Cut the yarn and fasten off. Using Colour A create a loop on your hook and sl st to the 1st st of previous round.
Rnd 6: Sl st in bl of next 10 sts, *sl st to bl of next st, make 3 chs, dtr at the bottom of the 3 chs, picot (2 chs, sl st in 2nd ch from hook), make 3 chs and sl st to the bottom of the dtr st*, repeat from * to * once more to create a second feather, dc in bl of next st, sl st in bl of next 6 sts and fasten off, leaving the last 4 sts of the previous round unworked.
Finishing: Flip the eye to WS, tighten the magic ring and securely weave the starting tail in. Secure all the other ends by tying knots. Clip the excess yarn.
Starting: Using Colour A and 6 mm hook, make a magic ring.
Rnd 1: 1 ch, 6 dc into ring. Pull on the starting tail to close the ring Insert the hook in the first st of the round, drop colour A and yo colour B and pull through the stitch and the lp on your hook to join the round. (6 sts)
Rnd 2: 1 ch, 2 dc in each st around. Join the round by pulling Colour A instead to do the last joining sl st. (12 sts)
Rnd 3: Sl st in the bl of each stitch around. (12 sts)
Join with a sl st to the first sl st of the round. Cut the yarn and fasten off. I recommend using an invisible join to avoid a visible bump.
Using MC create a loop on your hook and sl st to the 1st st of previous round.
Note that all stitches in the next round will be made in the bl of the sl sts made in round 3.
Rnd 4: 1ch, [dc in bl of next st, 2 dc in bl of next st] x 6, join with sl st. (18 sts)
Rnd 5: 1 ch, sl st in next 7 sts, dc in next st, [2 htr in next st, htr in next st] x 3, 2 tr in next st, tr in next st, 2 htr in next st, dc in next st, join with sl st. (23 sts)
Cut the yarn and fasten off. Using Colour A create a loop on your hook.
Rnd 6: Skip first 4 sts of the previous round and sl st in bl of next 6 sts, dc in bl of next st, *sl st to bl of next st, make 5 chs, sl st to the 2nd ch from hook, dtr at the bottom of the 5 chs, make 3 chs and sl st to the bottom of the dtr st*, repeat from * to * once more to create a second feather, sl st in bl of next 10 sts and fasten off.
Finishing: The same way as the right eye.
Attach at the front of the basket (opposite side to where the seam is) over the centre of 3 rows of basket wall, starting 2 rows above BPdc row. Don’t attach the tip of the beak (first row).

Position the eyes on each side of the beak so that the feathers point slightly towards the upper outer edge of the basket. Using a needle and matching-colour sewing thread, sew the eyes in place with back stitches worked between Rounds 5 and 6 of the eye.

Basket base: 5.5–6" (14–15 cm) in diameter
Height: 5” (13 cm)
Double strand using 8 mm hook: 9 sc and 9 rows
Single strand using 6 mm hook: 12 sc and 13 rows
Pattern notes: Worked in joined rounds using a double strand of yarn throughout.
Starting: Using 2 strands of MC and 8 mm hook, make a magic ring.
Rnd 1: 1 ch, 6 sc into ring. Join with sl st. (6 sts)
Rnd 2: 1 ch, 2 sc in each st around. Join. (12 sts)
Rnd 3: 1 ch, [sc in next st, 2 sc in next st] x 6. Join. (18 sts)
Rnd 4: 1 ch, [sc in next 2 sts, 2 sc in next st] x 6. Join. (24 sts)
Rnd 5: 1 ch, [sc in next 3 sts, 2 sc in next st] x 6. Join. (30 sts)
Rnd 6: 1 ch, [sc in next 4 sts, 2 sc in next st] x 6. Join. (36 sts)
The bottom of the basket is done and should measure 5.5–6" (14–15 cm) in diameter. If your circle is too small, add another round using the same increase pattern: [sc in next 5 sts, 2 sc in next st] around. You will then have 42 sts for the remainder of the basket.
Continue working the sides of the basket using a double strand of MC and the same hook:
Next Rnd: 1 ch, BPsc in each st around. Join.
Next Rnd: 1 ch, sc in each st around. Join.
Repeat the last round until the basket measures approximately 5" (13 cm) tall.
Finishing: Fasten off and weave in all yarn tails on WS securely.
Pattern notes: Worked in a continuous spiral using a single strand of yarn
Starting: Using either Color A or B and 6 mm hook, make a magic ring.
Rnd 1: 1 ch, 5 sc into ring. (5 sts). Pull on the starting tail to close the ring. Weave in the starting tail securely and tie a knot.
Rnd 2 to 4: sc in each st around. (5 sts)
Finishing: Slip st to the next st and fasten off leaving around 10" (25 cm) tail for attaching.
Add a small amount of toy stuffing or fill with scraps of matching color yarn.
Close the opening by threading the yarn tail through the front loops of the remaining stitches and pulling tightly.
Pattern notes: Below are two examples of colour combinations. Choose one you prefer.
Below are simple eyes using 3 colors.
The photo below shows how you can use a fourth color and embellishments using various color threads. Feel free to embellish the eyes further with glitter, sequins, beads or other craft supplies.
Pattern notes: Worked in joined rounds using single strand.
When making sl sts in the rounds below make them loosely so your work doesn’t roll up (excluding joining sl sts)
Starting: Using single strand of Color A and 6 mm hook, make a magic ring.
Rnd 1: 1 ch, 6 sc into ring. Pull on the starting tail to close the ring. Insert the hook in the first st of the round, drop Color A and yo Color B and pull through the stitch and the lp on your hook to join the round. (6 sts)
Rnd 2: 1 ch, 2 sc in each st around. Join the round by pulling color A instead to do the last joining sl st. (12 sts)
Rnd 3: Sl st (loosely) in the bl of each stitch around. (12 sts)
Join with a sl st to the first sl st of the round. Cut the yarn and fasten off. I recommend using an invisible join to avoid a visible bump.
Using MC create a loop on your hook and sl st to the bl of the 1st st of previous round.
Note that all stitches in the next round will be made in the bl of the sl sts made in round 3.
Rnd 4: 1 ch, [sc in bl of next st, 2 sc in bl of next st] x 6, join with sl st. (18 sts)
Rnd 5: 1 ch, sc in next st, 2 hdc in next st, dc in next st, 2 dc in next st, [hdc in next st, 2 hdc in next st] x 3, sc in next st, sl st in next 7 sts, join with sl st. (23 sts)
Cut the yarn and fasten off. Using Color A create a loop on your hook and sl st to the 1st st of previous round.
Rnd 6: Sl st in bl of next 10 sts, *sl st to bl of next st, make 3 chs, tr at the bottom of the 3 chs, picot (2 chs, sl st in 2nd ch from hook), make 3 chs and sl st to the bottom of the tr st*, repeat from * to * once more to create a second feather, sc in bl of next st, sl st in bl of next 6 sts and fasten off, leaving the last 4 sts of the previous round unworked.
Finishing: Flip the eye to WS, tighten the magic ring and securely weave the starting tail in. Secure all the other ends by tying knots. Clip the excess yarn.
Starting: Using Color A and 6 mm hook, make a magic ring.
Rnd 1: 1 ch, 6 sc into ring. Pull on the starting tail to close the ring Insert the hook in the first st of the round, drop color A and yo color B and pull through the stitch and the lp on your hook to join the round. (6 sts)
Rnd 2: 1 ch, 2 sc in each st around. Join the round by pulling Color A instead to do the last joining sl st. (12 sts)
Rnd 3: Sl st in the bl of each stitch around. (12 sts)
Join with a sl st to the first sl st of the round. Cut the yarn and fasten off. I recommend using an invisible join to avoid a visible bump.
Using MC create a loop on your hook and sl st to the 1st st of previous round.
Note that all stitches in the next round will be made in the bl of the sl sts made in round 3.
Rnd 4: 1ch, [sc in bl of next st, 2 sc in bl of next st] x 6, join with sl st. (18 sts)
Rnd 5: 1 ch, sl st in next 7 sts, sc in next st, [2 hdc in next st, hdc in next st] x 3, 2 dc in next st, dc in next st, 2 hdc in next st, sc in next st, join with sl st. (23 sts)
Cut the yarn and fasten off. Using Color A create a loop on your hook.
Rnd 6: Skip first 4 sts of the previous round and sl st in bl of next 6 sts, sc in bl of next st, *sl st to bl of next st, make 5 chs, sl st to the 2nd ch from hook, tr at the bottom of the 5 chs, make 3 chs and sl st to the bottom of the tr st*, repeat from * to * once more to create a second feather, sl st in bl of next 10 sts and fasten off.
Finishing: The same way as the right eye.
Attach at the front of the basket (opposite side to where the seam is) over the center of 3 rows of basket wall, starting 2 rows above BPsc row. Don’t attach the tip of the beak (first row).
Position the eyes on each side of the beak so that the feathers point slightly towards the upper outer edge of the basket. Using needle and matching-color sewing thread, sew the eyes in place with back stitches worked between Rounds 5 and 6 of the eye.
I hope you enjoyed this free crochet pattern!
If you make your own owl basket, I’d love to see it. Please share your photos and tag us on social media so I can admire your work.
You can find me as @crochetarcade and @dreamywool.


Crochet Arcade


Dreamy Wool
Crochet Arcade


Crochet Arcade
Crochet Arcade

Crochet Arcade

Dreamy Wool
Crochet Arcade